crwdns2935425:014crwdne2935425:0
crwdns2931653:014crwdne2931653:0

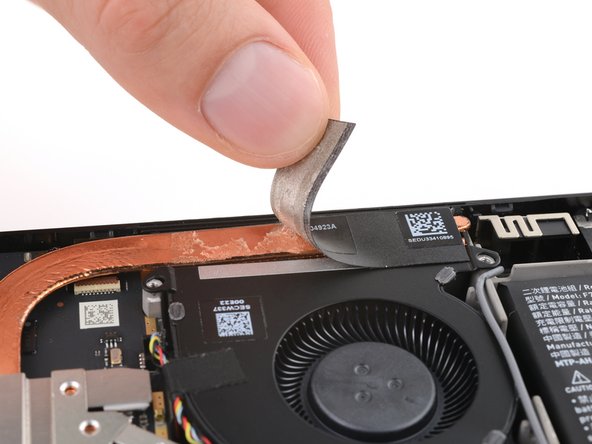


Remove the heat sink sticker
-
Slide the tip of an opening pick under one edge of the heat sink sticker.
-
Peel the sticker up until you can grab it with your fingers.
-
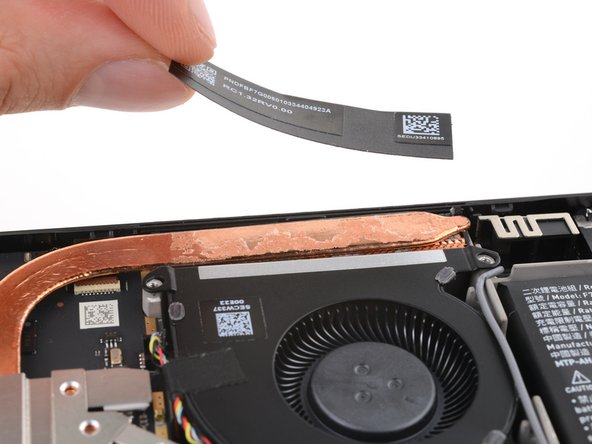
Gently remove the sticker from the heat sink and fan.
crwdns2944171:0crwdnd2944171:0crwdnd2944171:0crwdnd2944171:0crwdne2944171:0