crwdns2935425:011crwdne2935425:0
crwdns2931653:011crwdne2931653:0


-
Seperate both halves of the machine using both a spudger and your hands.
-
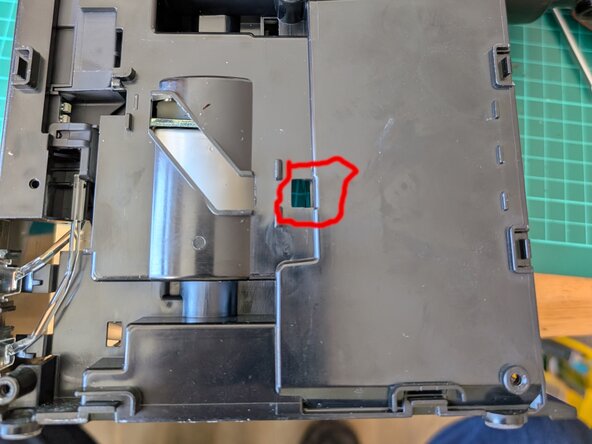
Once you have unclipped the side at the top, middle of the side and base. You can push with a screw driver through the hole on the reverse side to help remove the plastic side.
| [* black] Seperate both halves of the machine using both a spudger and your hands. | |
| + | [* red] Once you have unclipped the side at the top, middle of the side and base. You can push with a screw driver through the hole on the reverse side to help remove the plastic side. |
| [* icon_note] Be sure to take your time and start in the middle. Note that it is incredibly well secured. |
crwdns2944171:0crwdnd2944171:0crwdnd2944171:0crwdnd2944171:0crwdne2944171:0