crwdns2931529:0crwdnd2931529:0crwdnd2931529:0crwdnd2931529:02crwdnd2931529:0crwdne2931529:0
crwdns2935425:030crwdne2935425:0
crwdns2931653:030crwdne2931653:0

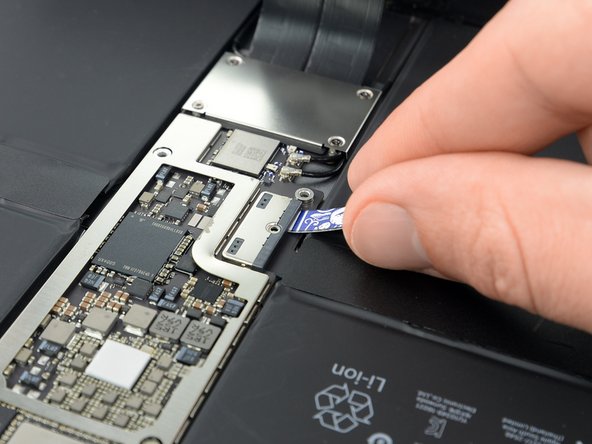


Insert the card strips
-
Gently insert the card strips on each side of the battery connector as far as they will go.
crwdns2944171:0crwdnd2944171:0crwdnd2944171:0crwdnd2944171:0crwdne2944171:0