crwdns2933423:0crwdne2933423:0

Wacom DTU-1031X Disassembly

crwdns2936315:0crwdne2936315:0
crwdns2936323:0crwdne2936323:0
crwdns2931653:06crwdne2931653:0
Wacom DTU-1031X Disassembly: crwdns2935265:00crwdnd2935265:01crwdnd2935265:03crwdne2935265:0 Wacom DTU-1031X Disassembly: crwdns2935265:00crwdnd2935265:02crwdnd2935265:03crwdne2935265:0 Wacom DTU-1031X Disassembly: crwdns2935265:00crwdnd2935265:03crwdnd2935265:03crwdne2935265:0
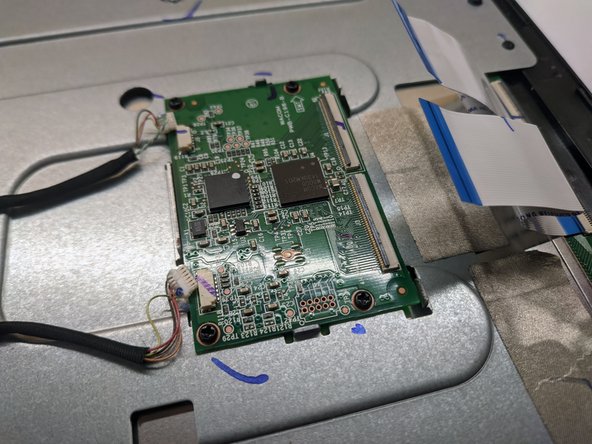
  • To remove the digitizer daughter board, unscrew 4 Phillips #00 screws

  • Unclip two flex cables connecting the digitizer to the digitizer board

  • Unclipped connector will have it's black plastic part facing up

  • Disconnect two cables connecting the daugher board with the mainboard

crwdns2935429:0crwdne2935429:0

crwdns2935429:0crwdne2935429:0

crwdns2935429:0crwdne2935429:0

crwdns2935429:0crwdne2935429:0

crwdns2944171:0crwdnd2944171:0crwdnd2944171:0crwdnd2944171:0crwdne2944171:0