crwdns2933423:0crwdne2933423:0

Google Pixel 8 Screen Replacement

crwdns2931529:0crwdnd2931529:0crwdnd2931529:0crwdnd2931529:012crwdnd2931529:0crwdne2931529:0

crwdns2935425:021crwdne2935425:0

crwdns2936315:0crwdne2936315:0
crwdns2936325:0crwdne2936325:0
crwdns2931653:021crwdne2931653:0
Google Pixel 8 Screen Replacement, Reassembly information: crwdns2935265:00crwdnd2935265:01crwdnd2935265:03crwdne2935265:0 Google Pixel 8 Screen Replacement, Reassembly information: crwdns2935265:00crwdnd2935265:02crwdnd2935265:03crwdne2935265:0 Google Pixel 8 Screen Replacement, Reassembly information: crwdns2935265:00crwdnd2935265:03crwdnd2935265:03crwdne2935265:0
Reassembly information
  • If you're installing a new screen with pre-installed adhesive, follow this step during reassembly. Otherwise, follow this guide to apply adhesive to your old screen.

  • Use the pull tabs to remove the liners covering the front camera cutout, the rear camera pad, the back of the screen, and the perimeter adhesive.

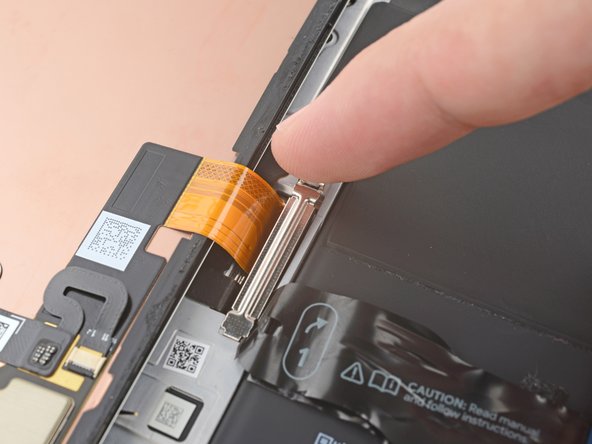
  • Reconnect the screen cable and reinstall its cover.

  • This is a good point to test your phone before sealing it up. Temporarily power on your phone and make sure it works as expected. Power it down before continuing.

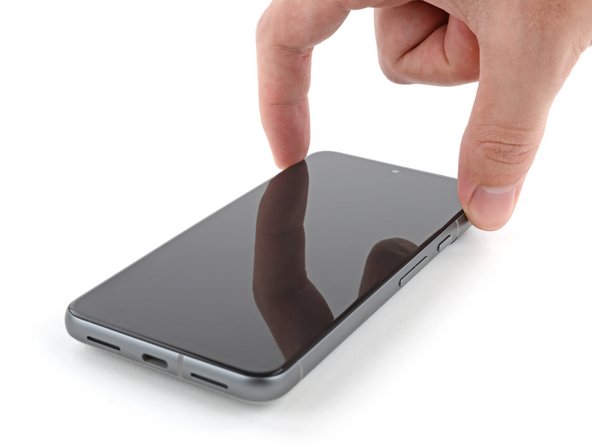
  • Firmly press the screen into place on the frame. You should feel the clips "pop" into place.

  • Press firmly around the perimeter of the screen to secure it with the new adhesive.

  • Optionally, you can strengthen the adhesive bond by applying pressure evenly to the phone.

  • Follow this guide to calibrate the fingerprint sensor.

crwdns2935429:0crwdne2935429:0

crwdns2935429:0crwdne2935429:0

crwdns2935429:0crwdne2935429:0

crwdns2935429:0crwdne2935429:0

crwdns2935429:0crwdne2935429:0

crwdns2935429:0crwdne2935429:0

crwdns2935429:0crwdne2935429:0

crwdns2935429:0crwdne2935429:0

crwdns2944171:0crwdnd2944171:0crwdnd2944171:0crwdnd2944171:0crwdne2944171:0