crwdns2933423:0crwdne2933423:0

Background setup - DIY *V1*

crwdns2931529:0crwdnd2931529:0crwdnd2931529:0crwdnd2931529:02crwdnd2931529:0crwdne2931529:0

crwdns2935425:02crwdne2935425:0

crwdns2936315:0crwdne2936315:0
crwdns2936323:0crwdne2936323:0
crwdns2931653:02crwdne2931653:0
Background setup - DIY *V1*, Wood backdrop (small spaces): crwdns2935265:00crwdnd2935265:01crwdnd2935265:03crwdne2935265:0 Background setup - DIY *V1*, Wood backdrop (small spaces): crwdns2935265:00crwdnd2935265:02crwdnd2935265:03crwdne2935265:0 Background setup - DIY *V1*, Wood backdrop (small spaces): crwdns2935265:00crwdnd2935265:03crwdnd2935265:03crwdne2935265:0
Wood backdrop (small spaces)
  • Authors note: Reinforce your hinges, or do the hinge mounting internally (L bracket) and externally and just deal with the bump - I had to break this one down due to shoddy assembly work catching up to me. I will rebuild this in the future and show how to get it right.

  • I have already assembled this one, but assembly is simple.

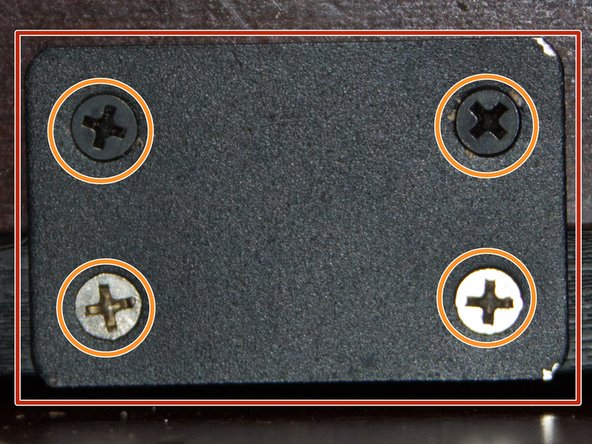
  • Place a few support brackets on the lower piece. Add screws as your brackets permit.

  • Hold the top piece up and add screws to the top side.

  • Once assembled, you are ready to use the backdrop.

crwdns2935429:0crwdne2935429:0

crwdns2935429:0crwdne2935429:0

crwdns2935429:0crwdne2935429:0

crwdns2935429:0crwdne2935429:0

crwdns2935429:0crwdne2935429:0

crwdns2944171:0crwdnd2944171:0crwdnd2944171:0crwdnd2944171:0crwdne2944171:0