crwdns2933423:0crwdne2933423:0

Samsung Galaxy Z Flip 3 スクリーン付きフレームアセンブリの交換

crwdns2935425:016crwdne2935425:0

crwdns2936315:0crwdne2936315:0
crwdns2936323:0crwdne2936323:0
crwdns2931653:016crwdne2931653:0
Samsung Galaxy Z Flip 3 Screen and Frame Assembly Replacement, Properly Sealed In The End (Final Final Step): crwdns2935265:00crwdnd2935265:01crwdnd2935265:03crwdne2935265:0 Samsung Galaxy Z Flip 3 Screen and Frame Assembly Replacement, Properly Sealed In The End (Final Final Step): crwdns2935265:00crwdnd2935265:02crwdnd2935265:03crwdne2935265:0 Samsung Galaxy Z Flip 3 Screen and Frame Assembly Replacement, Properly Sealed In The End (Final Final Step): crwdns2935265:00crwdnd2935265:03crwdnd2935265:03crwdne2935265:0
Properly Sealed In The End (Final Final Step)
  • This Last Step Is For AFTER You Have Done The 15 Steps In Reverse Order.

  • Before you attach the External Screen Connector do this step.

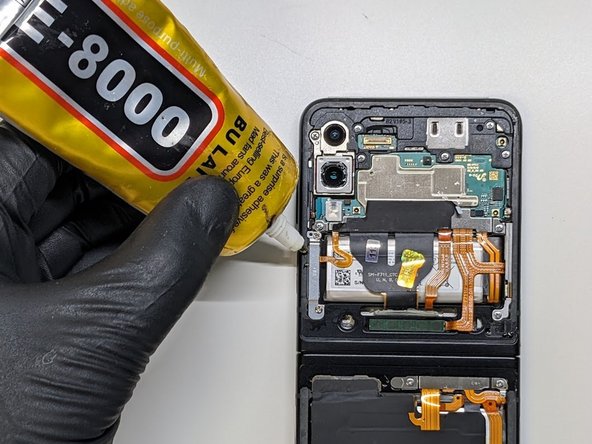
  • Add T-7000 on all your corners.

  • Add E-8000 on all the straights.

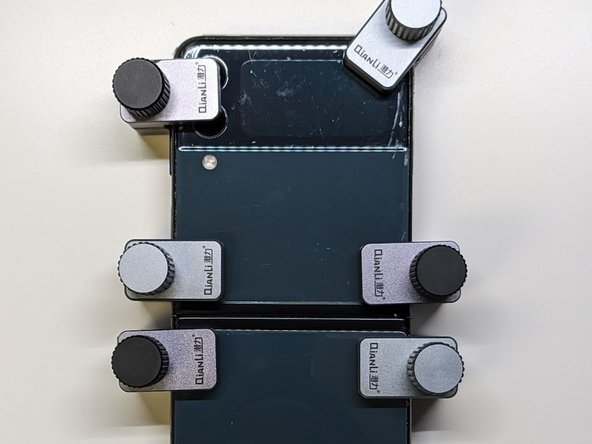
  • Individual Clamps work best. Only tight it down like 1/4 maybe 1/2 a turn once you feel resistance. Wait 15-20Min. Clean up any spill over around the edges with Isopropyl and then congratulations you're done!

この最後の手順は、手順15から手順1までを逆の手順で終わらせた後のものです。

外部画面コネクタを取り付ける前にこの手順を行います。

T-7000を全ての角に塗ります。

E-8000を全ての直線に塗ります。

個別型のクランプが最適です。抵抗を感じたところから、1/4周か半周程度だけ締めてください。15〜20分ほど待ってください。端からはみ出した接着剤はイソプロピルアルコールで綺麗にしてください。これにて完了です。お疲れ様でした!

crwdns2944171:0crwdnd2944171:0crwdnd2944171:0crwdnd2944171:0crwdne2944171:0