crwdns2933423:0crwdne2933423:0

Google Pixel 7aのリアカバー接着剤の貼り方

crwdns2936315:0crwdne2936315:0
crwdns2936323:0crwdne2936323:0
crwdns2931653:04crwdne2931653:0
How to Apply Rear Cover Adhesive in Your Google Pixel 7a, Apply the lower rear cover adhesive: crwdns2935265:00crwdnd2935265:01crwdnd2935265:02crwdne2935265:0 How to Apply Rear Cover Adhesive in Your Google Pixel 7a, Apply the lower rear cover adhesive: crwdns2935265:00crwdnd2935265:02crwdnd2935265:02crwdne2935265:0
Apply the lower rear cover adhesive
  • If you have a new rear cover, your part may come with the lower and top rear cover adhesive pre-installed and you can skip down two steps to apply the perimeter adhesive.

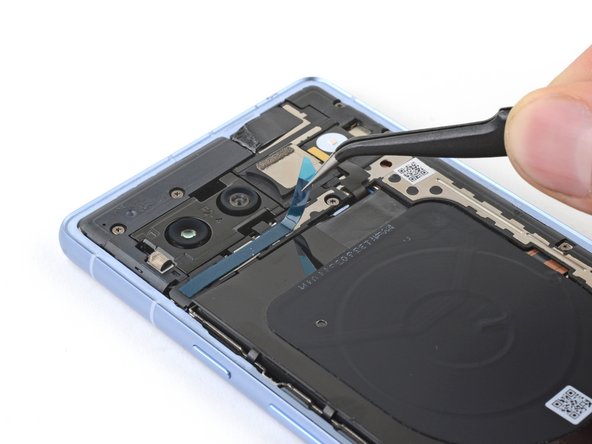
  • Remove the long, thin strip of rear cover adhesive from its liner.

  • Place the adhesive onto the logic board cover, just below the rear cameras.

新しいリアカバーを用意している場合、リアカバーの下部と上部に接着剤があらかじめ取り付けられているかも知れません。その場合、ここからの2手順をスキップして、縁に接着剤を貼ることができます。

リアカバーの接着剤の細長いストリップをライナーから外します。

接着剤をロジックボードカバーの背面カメラのすぐ下に接着剤を装着します。

crwdns2944171:0crwdnd2944171:0crwdnd2944171:0crwdnd2944171:0crwdne2944171:0