crwdns2935425:04crwdne2935425:0
crwdns2931653:04crwdne2931653:0

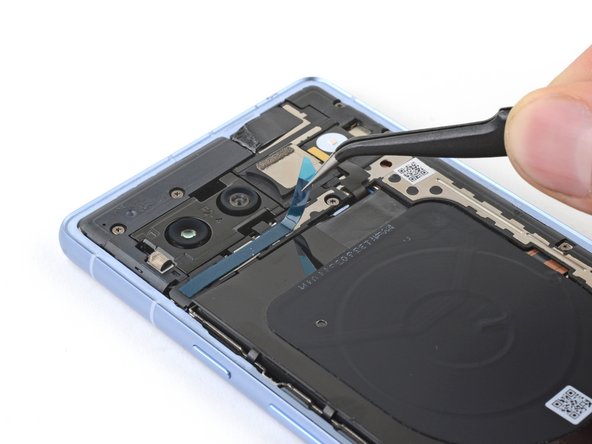


Apply the lower rear cover adhesive
-
Remove the long, thin strip of rear cover adhesive from its liner.
-
Place the adhesive onto the logic board cover, just below the rear cameras.
| [title] Apply the lower rear cover adhesive | |
| - | [* icon_note] If you have a new rear cover, your part |
| + | [* icon_note] If you have a new rear cover, your part may come with the lower and top rear cover adhesive pre-installed and you can skip down two steps to apply the perimeter adhesive. |
| [* black] Remove the long, thin strip of rear cover adhesive from its liner. | |
| [* black] Place the adhesive onto the logic board cover, just below the rear cameras. |
crwdns2944171:0crwdnd2944171:0crwdnd2944171:0crwdnd2944171:0crwdne2944171:0