crwdns2935425:04crwdne2935425:0
crwdns2931653:04crwdne2931653:0

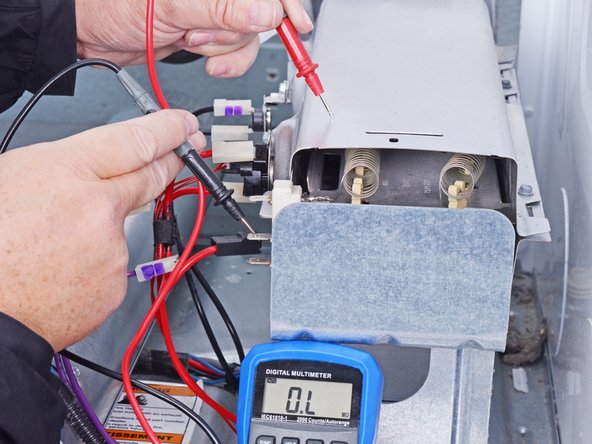


Heater continuity check and ground check
-
(For three terminal heaters only) Check the resistance between the top and bottom terminals.
-
(All types) Check resistance from the each terminal to the heater housing.
crwdns2944171:0crwdnd2944171:0crwdnd2944171:0crwdnd2944171:0crwdne2944171:0