crwdns2933423:0crwdne2933423:0

Google Pixel 7aのバッテリー交換

crwdns2936315:0crwdne2936315:0
crwdns2936323:0crwdne2936323:0
crwdns2931653:011crwdne2931653:0
Google Pixel 7a Battery Replacement: crwdns2935265:00crwdnd2935265:01crwdnd2935265:03crwdne2935265:0 Google Pixel 7a Battery Replacement: crwdns2935265:00crwdnd2935265:02crwdnd2935265:03crwdne2935265:0 Google Pixel 7a Battery Replacement: crwdns2935265:00crwdnd2935265:03crwdnd2935265:03crwdne2935265:0
  • If your battery comes with adhesive pre-installed, remove its adhesive liners and skip this step.

  • Peel the two strips of battery adhesive from their large liner.

  • Apply the short strip of adhesive to the right side of the battery recess, using the white lines on the frame to position it.

  • Apply the long strip of adhesive to the left side of the recess.

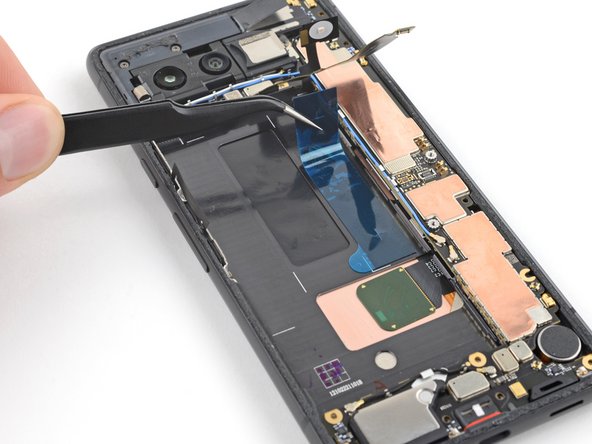
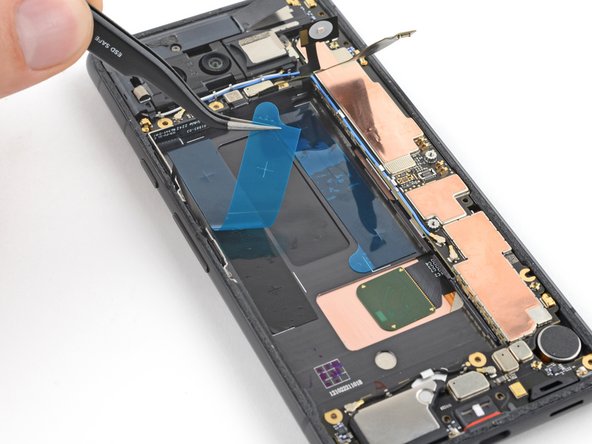
  • Remove the blue liners from the adhesive strips.

交換用の接着剤があらかじめ取り付けられているバッテリーの場合は、接着ライナーを取り外し、この手順を省略してください

バッテリー用接着剤の2本のストリップのうち、大きなライナーから剥がします。

接着剤の短辺側のストリップを、フレームの白い線を使ってバッテリー用くぼみの右側に貼り付けます。

接着剤の長いストリップを凹みの左側に貼ります。

青いライナーを接着ストリップから剥がします。

crwdns2944171:0crwdnd2944171:0crwdnd2944171:0crwdnd2944171:0crwdne2944171:0