crwdns2933423:0crwdne2933423:0

Google Pixel 7a スクリーンの交換

crwdns2936315:0crwdne2936315:0
crwdns2936323:0crwdne2936323:0
crwdns2931653:017crwdne2931653:0
Google Pixel 7a Screen Replacement: crwdns2935265:00crwdnd2935265:01crwdnd2935265:02crwdne2935265:0 Google Pixel 7a Screen Replacement: crwdns2935265:00crwdnd2935265:02crwdnd2935265:02crwdne2935265:0
  • If your screen already comes with adhesive pre-installed, remove its liner and skip down five steps to continue reassembly.

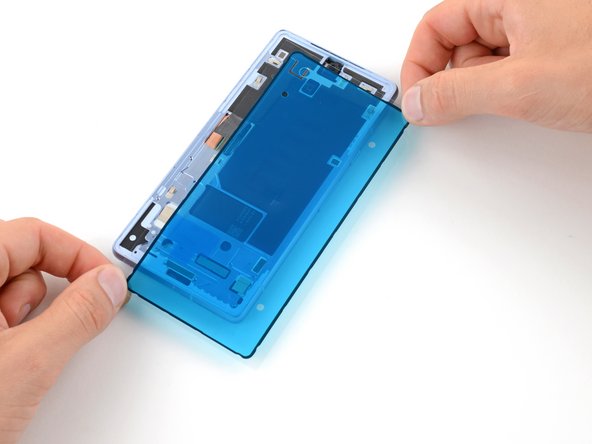
  • Before removing any liners from the screen adhesive, hold it over the frame to make sure it's oriented correctly.

  • Make sure the blue adhesive liner is facing up and the tab cutout is to the left of the front-facing camera.

スクリーンに接着剤があらかじめ取り付けられている場合は、接着剤のライナーを剥がしてから5つ下の手順に飛んで再組み立てを続けてください。

スクリーンの接着剤からライナーを剥がす前に、フレームの上にライナーを重ねて位置合わせをして、向きが正しいことを確認してください。

青色の接着ライナーが上側に、タブの切り込みが前面カメラの左側にあることを確認してください。

crwdns2944171:0crwdnd2944171:0crwdnd2944171:0crwdnd2944171:0crwdne2944171:0