crwdns2933423:0crwdne2933423:0

Prueba de la resistencia de la secadora Whirlpool WED87HED

crwdns2936315:0crwdne2936315:0
crwdns2936331:0crwdne2936331:0
crwdns2931653:015crwdne2931653:0
Whirlpool WED87HED Dryer Heating Element Testing and Replacement, Remove the heater housing cover: crwdns2935265:00crwdnd2935265:01crwdnd2935265:03crwdne2935265:0 Whirlpool WED87HED Dryer Heating Element Testing and Replacement, Remove the heater housing cover: crwdns2935265:00crwdnd2935265:02crwdnd2935265:03crwdne2935265:0 Whirlpool WED87HED Dryer Heating Element Testing and Replacement, Remove the heater housing cover: crwdns2935265:00crwdnd2935265:03crwdnd2935265:03crwdne2935265:0
Remove the heater housing cover
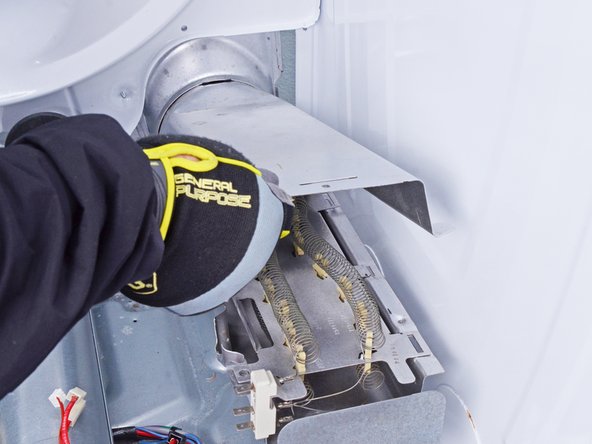
  • Put on gloves before continuing, as the heater housing cover is sharp

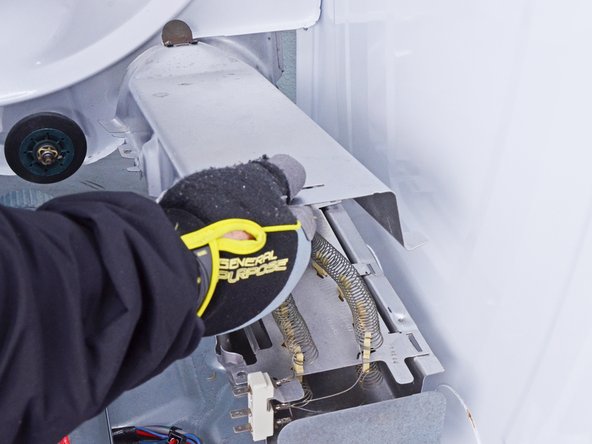
  • Lift the front of the heater housing cover to release the tabs securing it to the inlet housing pipe.

  • Make sure to lift the end of the cover well up so that you can get this tab to come free. Also the tabs on the side of the housing can stick in the slots.

  • Remove the heater housing cover.

  • During reassembly, make sure all the tabs on the cover have gone all the way through the slots on the sides of the housing and on the heating element. It will snap into place when it is correct.

Ponte guantes antes de continuar, ya que la tapa de la carcasa del calentador es afilada

Levanta la parte delantera de la tapa de la carcasa del calentador para soltar las lengüetas que la sujetan al tubo de la carcasa de entrada.

Asegúrate de levantar bien el extremo de la tapa para poder liberar esta lengüeta. También las pestañas del lateral de la carcasa pueden clavarse en las ranuras.

Retira la tapa de la carcasa del calentador.

Cuando vuelvas a montarla, asegúrate de que todas las lengüetas de la tapa hayan pasado por las ranuras de los laterales de la carcasa y del elemento calefactor. Encajará en su sitio cuando sea correcto.

crwdns2944171:0crwdnd2944171:0crwdnd2944171:0crwdnd2944171:0crwdne2944171:0