crwdns2935425:07crwdne2935425:0
crwdns2931653:07crwdne2931653:0

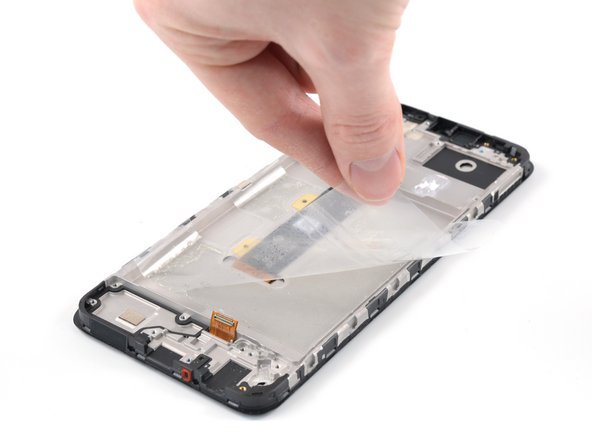
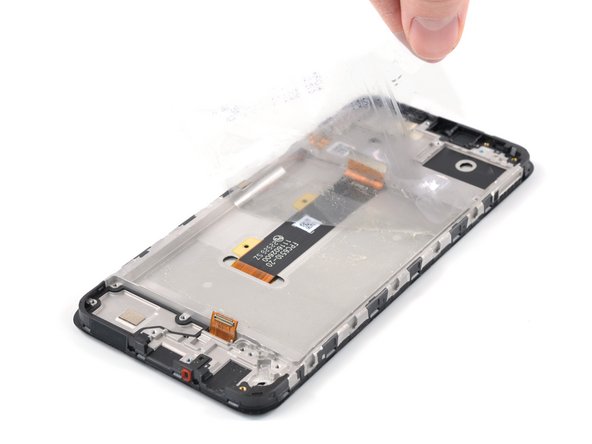


Remove the battery adhesive film
-
Grab the bottom right edge of the leftover adhesive film and pull it towards the top of the phone with steady force to remove it.
-
Remove the battery adhesive film from its liners and apply it to the battery.
-
Align the bottom edge of the battery (the edge without adhesive) with the bottom edge of the recess.
-
Lower the battery with its film down and press firmly to secure it in place.
crwdns2944171:0crwdnd2944171:0crwdnd2944171:0crwdnd2944171:0crwdne2944171:0