crwdns2933423:0crwdne2933423:0

Nokia G22 Displayeinheit tauschen

crwdns2936315:0crwdne2936315:0
crwdns2936319:0crwdne2936319:0
crwdns2931653:03crwdne2931653:0
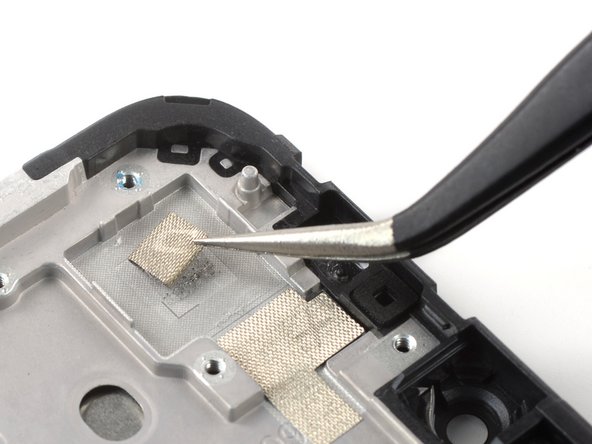
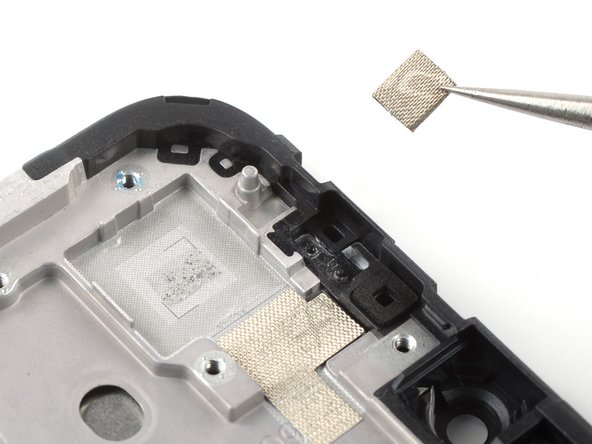
Nokia G22 Screen Assembly Replacement, Remove the foam pad: crwdns2935265:00crwdnd2935265:01crwdnd2935265:03crwdne2935265:0 Nokia G22 Screen Assembly Replacement, Remove the foam pad: crwdns2935265:00crwdnd2935265:02crwdnd2935265:03crwdne2935265:0 Nokia G22 Screen Assembly Replacement, Remove the foam pad: crwdns2935265:00crwdnd2935265:03crwdnd2935265:03crwdne2935265:0
Remove the foam pad
  • If your new screen assembly comes with a foam pad you can skip this step. If not you’ll need to transfer the old pad or apply a new one.

  • Use a pair of tweezers to carefully peel the foam off of the frame to remove it.

  • The foam pad in the camera recess is held in place with mild adhesive.

  • During reassembly, transfer the old foam pad or install a new one for the new screen assembly. You can install the camera bracket first to help orient the foam pad.

Wenn deine neue Displayeinheit bereits mit einem Schaumstoff-Klebepad ausgestattet ist, kannst du diesen Schritt überspringen. Wenn nicht, musst du das alte übertragen oder ein neues anbringen.

Benutze eine Pinzette, um das Schaumstoff-Klebepad vorsichtig vom Rahmen abzuziehen und zu entfernen.

Das Schaumstoff-Klebepad in der Kamera-Vertiefung ist leicht festgeklebt.

Übertrage beim Zusammenbau das alte Schaumstoff-Klebepad auf die neue Displayeinheit, oder baue eine neues ein. Bringe zuerst die Halterung der Kamera an, das erleichtert es, die richtige Position für das Schaumstoffpad zu finden.

crwdns2944171:0crwdnd2944171:0crwdnd2944171:0crwdnd2944171:0crwdne2944171:0