crwdns2935425:02crwdne2935425:0
crwdns2931653:02crwdne2931653:0

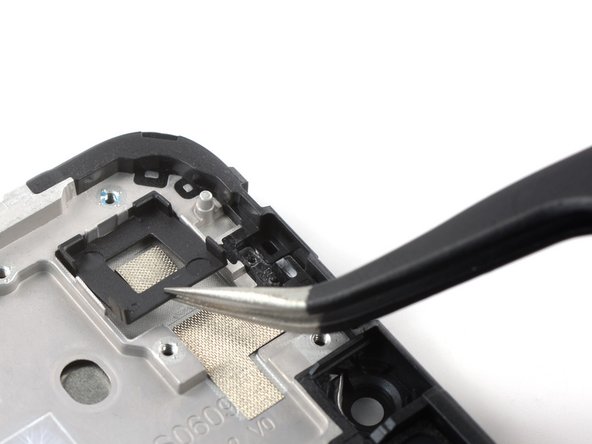
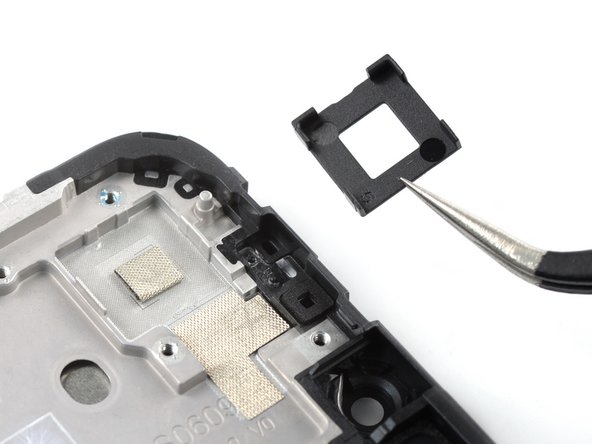


Remove the camera bracket
-
Use a pair of tweezers to remove the black camera bracket.
| - | [title] |
|---|---|
| - | [* icon_note] If your new screen assembly comes with a camera bracket you can skip this step. If not you’ll need to |
| - | [* black] Use a pair of tweezers to remove the black camera bracket. |
| + | [title] Remove the camera bracket |
| + | [* icon_note] If your new screen assembly comes with a camera bracket you can skip this step. If not you’ll need to transfer the bracket or apply a new one. |
| + | [* black] Use a pair of [product|IF145-020|tweezers] to remove the black camera bracket. |
| [* icon_note] The camera bracket is held in place with mild adhesive. | |
| - | [* icon_reminder] During reassembly, |
| + | [* icon_reminder] During reassembly, transfer the old camera bracket or install a new bracket for the new screen assembly. |
crwdns2944171:0crwdnd2944171:0crwdnd2944171:0crwdnd2944171:0crwdne2944171:0