crwdns2933423:0crwdne2933423:0

iPad Air(WiFi & Cellular)ディスプレイパネルの分解

crwdns2936315:0crwdne2936315:0
crwdns2936323:0crwdne2936323:0
crwdns2931653:03crwdne2931653:0
iPad Air 4 (WiFi & Cellular) display panel disassembly: crwdns2935265:00crwdnd2935265:01crwdnd2935265:03crwdne2935265:0 iPad Air 4 (WiFi & Cellular) display panel disassembly: crwdns2935265:00crwdnd2935265:02crwdnd2935265:03crwdne2935265:0 iPad Air 4 (WiFi & Cellular) display panel disassembly: crwdns2935265:00crwdnd2935265:03crwdnd2935265:03crwdne2935265:0
  • repeat for the upper and lower right corners of the tablet. Move slowly.

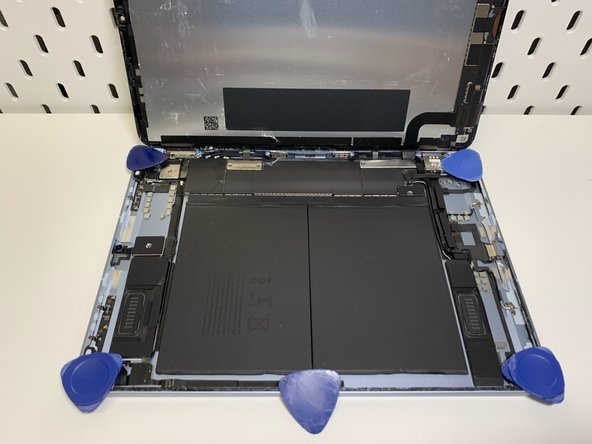
  • heat the left edge of the tablet once more and slowly (very gently) lift the screen along the left edge - as if opposite to the book.

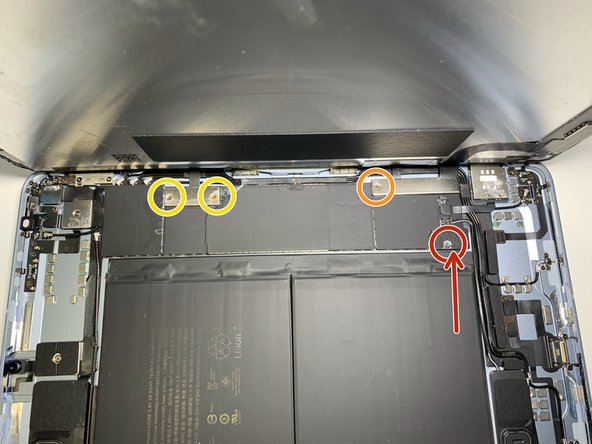
  • unscrew the marked screws. I mark the battery port with red, after removing the screw, insert an insulator between the negative pole of the battery and the motherboard pin (a thin strip of plastic, which I mentioned at the beginning). In my case, the battery is completely discharged so it doesn't have a significant effect

タブレットの右上隅と右下隅についても同じ作業を繰り返します。 ゆっくり慎重に行なってください。

タブレットの左端をもう一度加熱し、ゆっくりと (非常に穏やかに) 左端に沿って画面を持ち上げます。

マークされたネジを緩めます。(3番目の画像) ネジを外した後、バッテリーのポートを赤でマークし、バッテリーのマイナス極とマザーボードのピン (最初に述べたプラスチックの薄いストリップ) の間に絶縁体を挿入します。 私の場合、バッテリーは完全に放電されているため、大きな影響はありません

crwdns2944171:0crwdnd2944171:0crwdnd2944171:0crwdnd2944171:0crwdne2944171:0