crwdns2935425:03crwdne2935425:0
crwdns2931653:03crwdne2931653:0

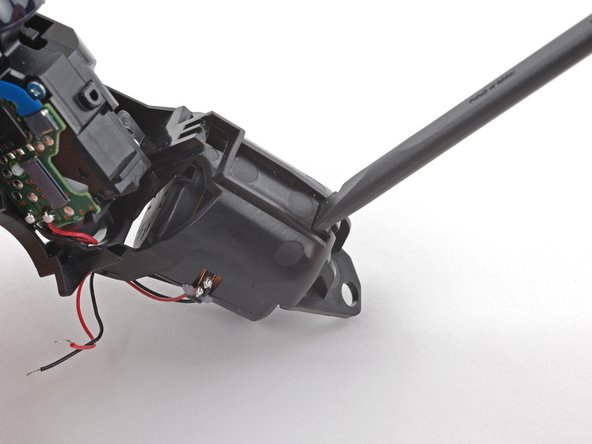
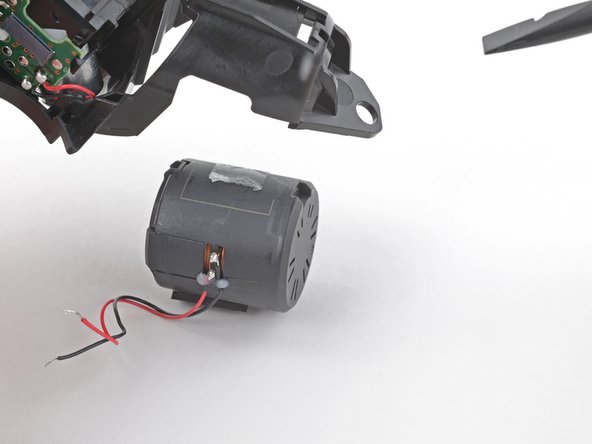


Remove the left-hand vibration motor
-
Hold the midframe up to make sure the vibration motor isn't resting on your work surface.
-
Press the flat end of your spudger into the midframe opening against the left-hand vibration motor.
-
Push to release the adhesive securing the vibration motor to the midframe.
crwdns2944171:0crwdnd2944171:0crwdnd2944171:0crwdnd2944171:0crwdne2944171:0