crwdns2933423:0crwdne2933423:0

Cómo reemplazar el adhesivo del panel posterior en su Google Pixel 4

crwdns2931527:0crwdnd2931527:0crwdnd2931527:0crwdnd2931527:0crwdne2931527:0

crwdns2936315:0crwdne2936315:0
crwdns2936331:0crwdne2936331:0
crwdns2931653:05crwdne2931653:0
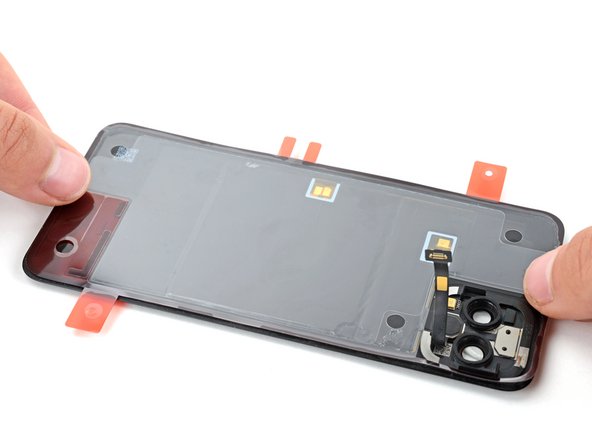
How to Replace the Back Panel Adhesive on Your Google Pixel 4, Apply the adhesive: crwdns2935265:00crwdnd2935265:01crwdnd2935265:03crwdne2935265:0 How to Replace the Back Panel Adhesive on Your Google Pixel 4, Apply the adhesive: crwdns2935265:00crwdnd2935265:02crwdnd2935265:03crwdne2935265:0 How to Replace the Back Panel Adhesive on Your Google Pixel 4, Apply the adhesive: crwdns2935265:00crwdnd2935265:03crwdnd2935265:03crwdne2935265:0
Apply the adhesive
  • Be very careful during this step! The adhesive is very sticky, and once it touches the back panel you won't be able to reposition it. Misaligned adhesive can lead to an improper seal.

  • When laying down the adhesive, make sure the back panel connector cable is threaded through the camera cutout. If the adhesive sticks to the cable, you'll have to restart the repair with new adhesive.

  • With the adhesive in its proper orientation, lay it sticky side down on the back panel.

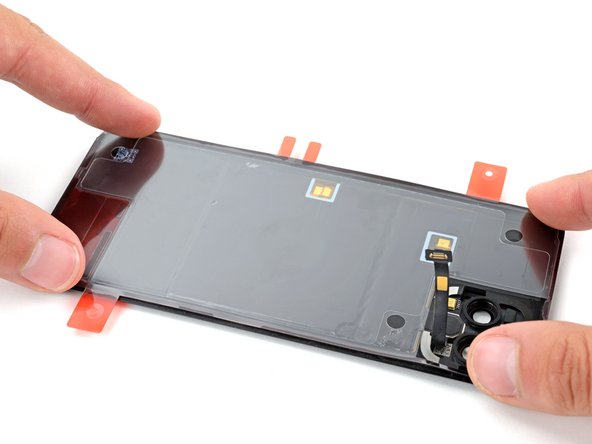
  • Press down firmly around the perimeter of the back panel, ensuring all the adhesive is secured.

¡Ten mucho cuidado durante este paso! El adhesivo es muy pegajoso y una vez que toca el panel posterior no podrás volver a colocarlo. El adhesivo desalineado puede provocar un sellado inadecuado.

Al colocar el adhesivo, asegúrate de que el cable del conector del panel posterior pase por el recorte de la cámara. Si el adhesivo se pega al cable, tendrás que reiniciar la reparación con adhesivo nuevo.

Con el adhesivo en la orientación correcta, colócalo con el lado adhesivo hacia abajo en el panel posterior.

Presiona firmemente alrededor del perímetro del panel posterior, asegurándote de que todo el adhesivo esté asegurado.

crwdns2944171:0crwdnd2944171:0crwdnd2944171:0crwdnd2944171:0crwdne2944171:0