crwdns2935425:026crwdne2935425:0
crwdns2931653:026crwdne2931653:0

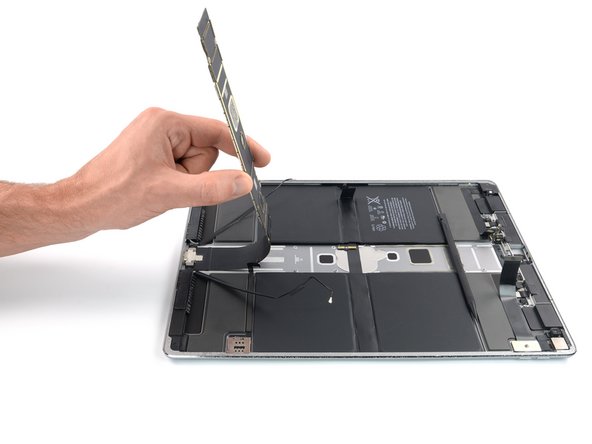


Fold over the logic board
-
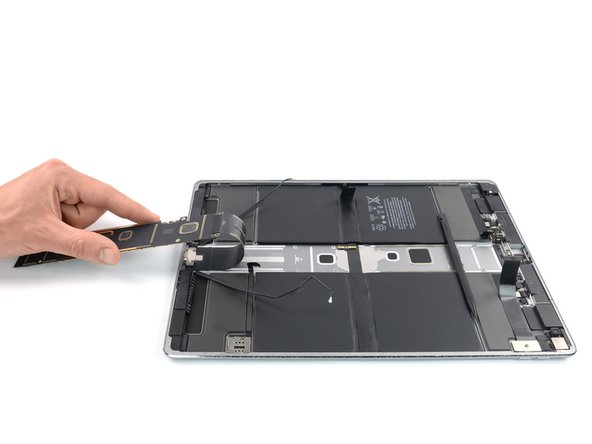
Lift the logic board slightly and swing it over its flex cable.
crwdns2944171:0crwdnd2944171:0crwdnd2944171:0crwdnd2944171:0crwdne2944171:0