crwdns2935425:07crwdne2935425:0
crwdns2931653:07crwdne2931653:0

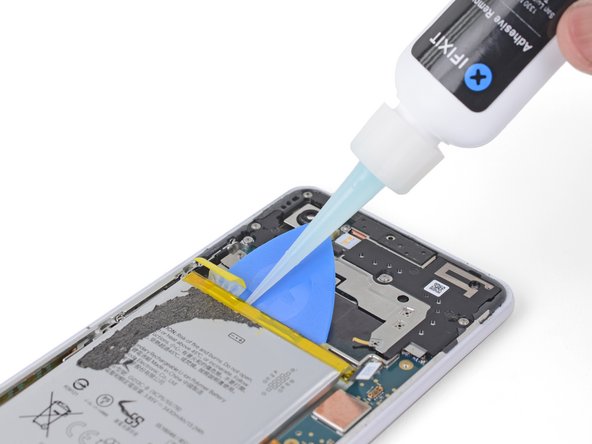


Remove the battery adhesive strips
-
Pull on the yellow adhesive pull tab with slow steady force. Try your best to pull it as shallow of an angle (vs. straight up) as possible.
-
As you pull on the adhesive tab, maintain pressure on the opening pick to wedge it underneath the battery as much as possible.
-
Repeat the process with the second adhesive pull tab.
crwdns2944171:0crwdnd2944171:0crwdnd2944171:0crwdnd2944171:0crwdne2944171:0