crwdns2935425:06crwdne2935425:0
crwdns2931653:06crwdne2931653:0

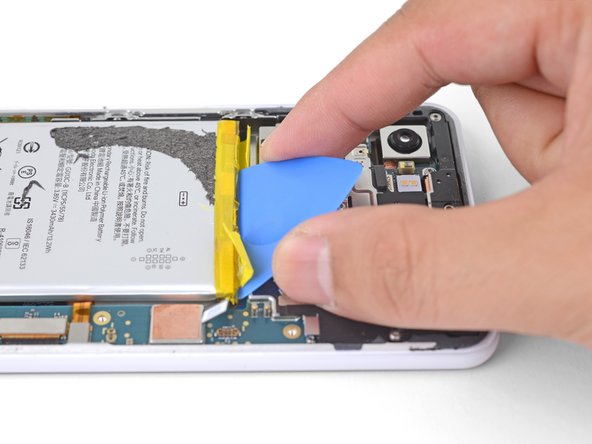


Insert a bracing pick
-
Insert the flat end of an opening pick into the gap above the battery, behind a yellow pull tab.
-
Wedge the pick firmly underneath the battery. The pick will serve as a buffer for the adhesive strip as well as a prying point.
crwdns2944171:0crwdnd2944171:0crwdnd2944171:0crwdnd2944171:0crwdne2944171:0