crwdns2935425:013crwdne2935425:0


-
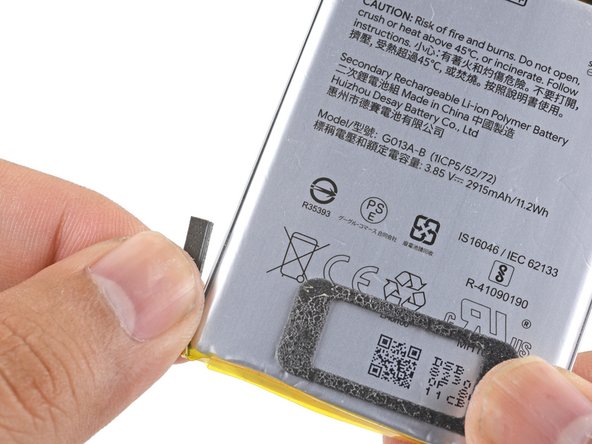
Remove the battery.
-
Carefully pull and remove the small foam buffer block from the left edge of the battery and transfer it to your replacement part. If it begins to tear, use the flat end of a spudger to gently pry it off the battery.
-
Lay some double-sided tape in the phone's battery well. If you're using Tesa tape to reattach components, follow this guide. If using stretch-release adhesive, follow this guide.
-
Temporarily re-connect the battery's connector to the motherboard socket. This ensures that the battery is properly positioned.
-
Peel away any tape liners to expose the adhesive.
-
Lay the battery on the adhesive and press firmly.
-
Disconnect the battery connector from its motherboard socket and resume re-assembly.
crwdns2944171:0crwdnd2944171:0crwdnd2944171:0crwdnd2944171:0crwdne2944171:0