crwdns2933423:0crwdne2933423:0

Sangle déchirée (housse de sac de couchage)

crwdns2935425:05crwdne2935425:0

crwdns2936315:0crwdne2936315:0
crwdns2936317:0crwdne2936317:0
crwdns2931653:05crwdne2931653:0
How to repair a broken webbing in a sleeping bag: crwdns2935265:00crwdnd2935265:01crwdnd2935265:03crwdne2935265:0 How to repair a broken webbing in a sleeping bag: crwdns2935265:00crwdnd2935265:02crwdnd2935265:03crwdne2935265:0 How to repair a broken webbing in a sleeping bag: crwdns2935265:00crwdnd2935265:03crwdnd2935265:03crwdne2935265:0
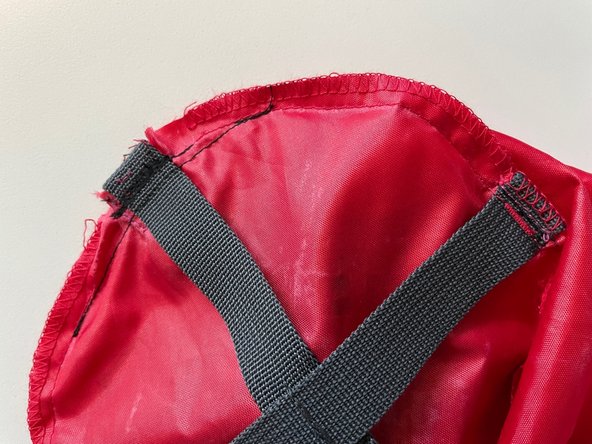
  • You repair is finished! Check the repair strength by pulling an unbroken strap gently, and then pulling the repaired strap in the same way.

  • When pulling the repaired strap, if it looks weak or strained, repeat step 4 again and add some additional stitching on the sewing machine.

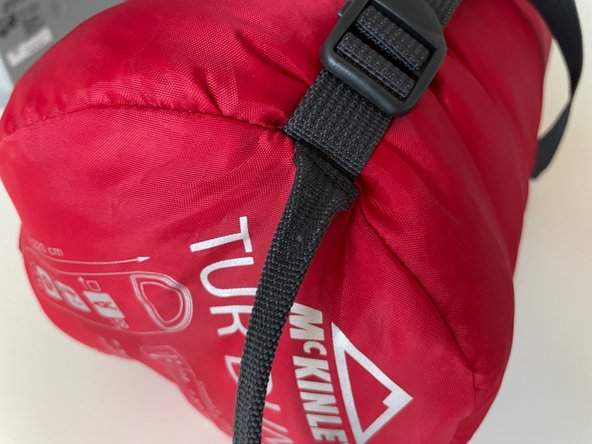
  • Turn the bag back the correct way, and stuff the sleeping bag back in. If it looks unstrained and strong, you're ready to go!

  • Note: it is normal for the repaired strap to be 5-10mm shorter after the repair, and this may be noticeable when the bag is packed.

Votre réparation est terminée ! Vérifiez la solidité de la nouvelle couture en tirant délicatement sur une sangle intacte, puis en tirant sur la sangle réparée de la même manière.

Lorsque vous tirez sur la sangle réparée, si elle semble lâche ou tendue, répétez l'étape 4 et refaites une couture.

Retournez la housse dans le bon sens et remettez le sac de couchage à l'intérieur. Si le tout a l'air souple et solide, c'est bon !

Remarque : il est normal que la sangle réparée soit plus courte de 5 à 10 mm après réparation, ce qui peut être perceptible lorsque le sac est emballé dans la housse.

crwdns2944171:0crwdnd2944171:0crwdnd2944171:0crwdnd2944171:0crwdne2944171:0