crwdns2933423:0crwdne2933423:0

Nintendo GameCube optische Laufwerkbaugruppe tauschen

crwdns2931529:0crwdnd2931529:0crwdnd2931529:0crwdnd2931529:02crwdnd2931529:0crwdne2931529:0

crwdns2936315:0crwdne2936315:0
crwdns2936319:0crwdne2936319:0
crwdns2931653:05crwdne2931653:0
Nintendo GameCube Optical Drive Assembly Replacement: crwdns2935265:00crwdnd2935265:01crwdnd2935265:03crwdne2935265:0 Nintendo GameCube Optical Drive Assembly Replacement: crwdns2935265:00crwdnd2935265:02crwdnd2935265:03crwdne2935265:0 Nintendo GameCube Optical Drive Assembly Replacement: crwdns2935265:00crwdnd2935265:03crwdnd2935265:03crwdne2935265:0
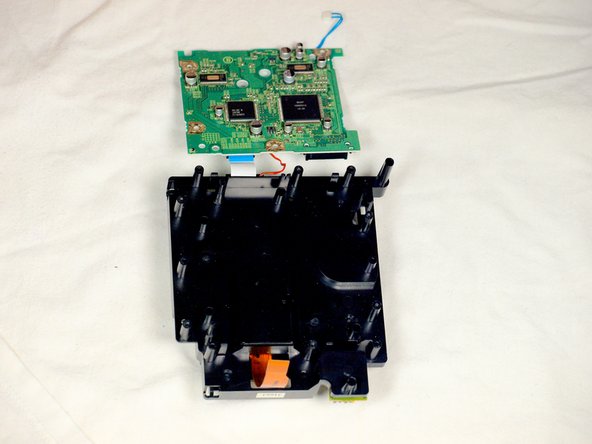
  • Gently lift the metal plate off the drive assembly.

  • Be careful not to sever the red wire or the white ribbon cable still attached to the two halves of the drive assembly.

  • Then, flip the two halves of the drive assembly upside down.

Hebe die Metallplatte vorsichtig von der Laufwerksbaugruppe ab.

Achte darauf, dass das rote Kabel oder das weiße Flachbandkabel, die noch an den beiden Hälften der Laufwerksbaugruppe befestigt sind, nicht durchtrennt werden.

Drehe dann die beiden Hälften der Laufwerksbaugruppe um.

crwdns2944171:0crwdnd2944171:0crwdnd2944171:0crwdnd2944171:0crwdne2944171:0