crwdns2933423:0crwdne2933423:0

Steam Deck Vervanging van het beeldscherm

crwdns2936315:0crwdne2936315:0
crwdns2936313:0crwdne2936313:0
crwdns2931653:015crwdne2931653:0
Steam Deck Screen Replacement, Align and place the adhesive strips: crwdns2935265:00crwdnd2935265:01crwdnd2935265:03crwdne2935265:0 Steam Deck Screen Replacement, Align and place the adhesive strips: crwdns2935265:00crwdnd2935265:02crwdnd2935265:03crwdne2935265:0 Steam Deck Screen Replacement, Align and place the adhesive strips: crwdns2935265:00crwdnd2935265:03crwdnd2935265:03crwdne2935265:0
Align and place the adhesive strips
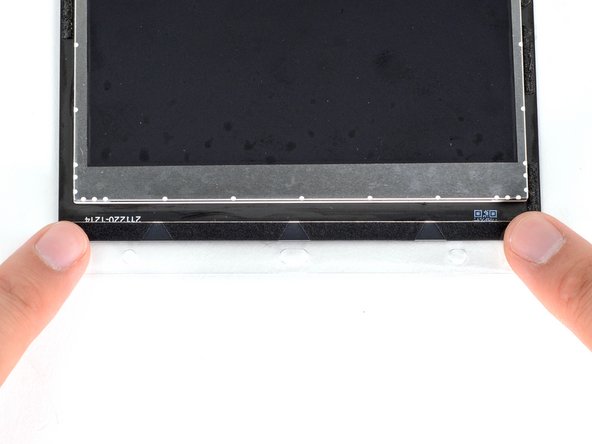
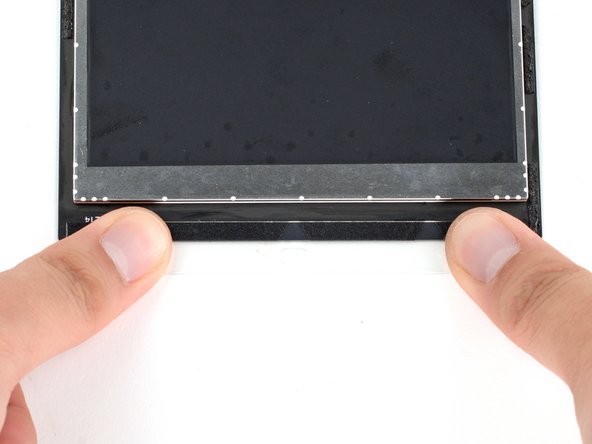
  • Hold the exposed strip by its tabs and carefully line up the edge of the adhesive to the outer edge of display.

  • Use your old display as a reference for where the new adhesive strips should be applied on the new display’s edges.

  • Be careful with alignment. Most of the time, you can't peel and reapply adhesive strips if they stick misaligned.

  • Set the adhesive onto the surface and press firmly with your fingers to set it in place.

  • Repeat the previous two steps for the three other display adhesive strips.

Pak de kleefstrip bij de lipjes vast en breng deze boven de plek waar je de strip wilt bevestigen. Breng vervolgens de rand van de strip op een lijn met de buitenste rand van het scherm.

Gebruik je oude scherm als voorbeeld voor waar op het nieuwe scherm de nieuwe kleefstrips geplaatst moeten worden.

Ga voorzichtig te werk. Je hebt meestal maar een kans voor het plaatsen van de strip aangezien deze niet meer los getrokken kan worden zonder dat je de strip kapot trekt.

Plaats de kleefstrips op het scherm en druk deze stevig aan met je vingers zodat je zeker weet dat de hechting goed is.

Herhaal de vorige twee stappen voor de drie andere kleefstrips rondom het scherm.

crwdns2944171:0crwdnd2944171:0crwdnd2944171:0crwdnd2944171:0crwdne2944171:0