crwdns2935425:015crwdne2935425:0
crwdns2931653:015crwdne2931653:0

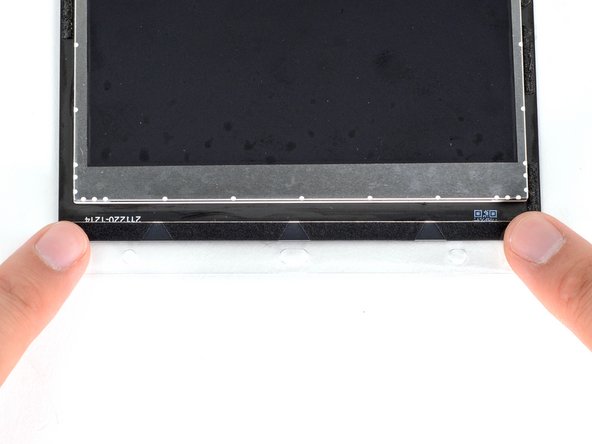


Align and place the adhesive strips
-
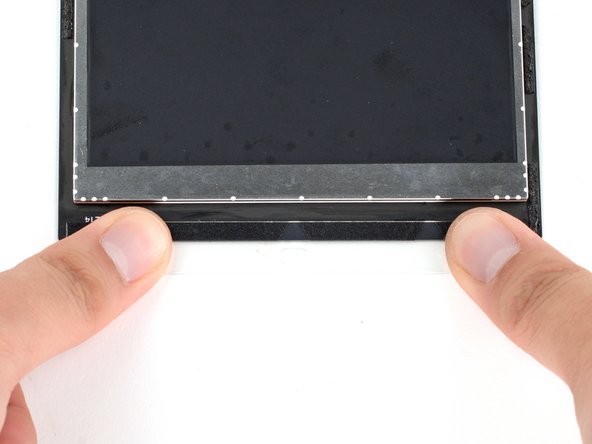
Set the adhesive onto the surface and press firmly with your fingers to set it in place.
-
Repeat the previous two steps for the three other display adhesive strips.
crwdns2944171:0crwdnd2944171:0crwdnd2944171:0crwdnd2944171:0crwdne2944171:0