crwdns2933423:0crwdne2933423:0

Microsoft Surface Pro X Openingsprocedure

crwdns2931529:0crwdnd2931529:0crwdnd2931529:0crwdnd2931529:019crwdnd2931529:0crwdne2931529:0

crwdns2936315:0crwdne2936315:0
crwdns2936313:0crwdne2936313:0
crwdns2931653:06crwdne2931653:0
Microsoft Surface Pro X Opening Procedure: crwdns2935265:00crwdnd2935265:01crwdnd2935265:03crwdne2935265:0 Microsoft Surface Pro X Opening Procedure: crwdns2935265:00crwdnd2935265:02crwdnd2935265:03crwdne2935265:0 Microsoft Surface Pro X Opening Procedure: crwdns2935265:00crwdnd2935265:03crwdnd2935265:03crwdne2935265:0
  • Don't insert the pick more than 3 mm while cutting through the screen adhesive on the bottom edge or you may damage delicate components on the screen.

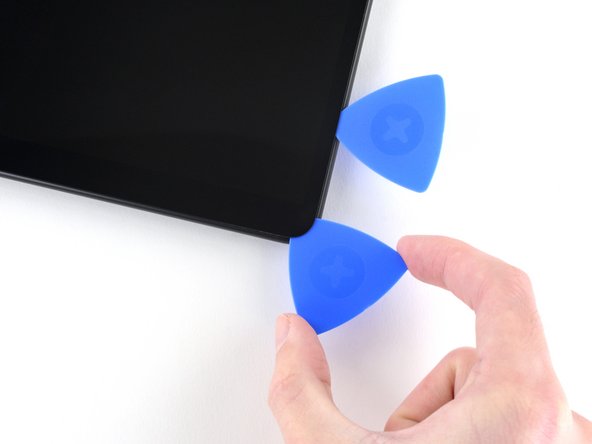
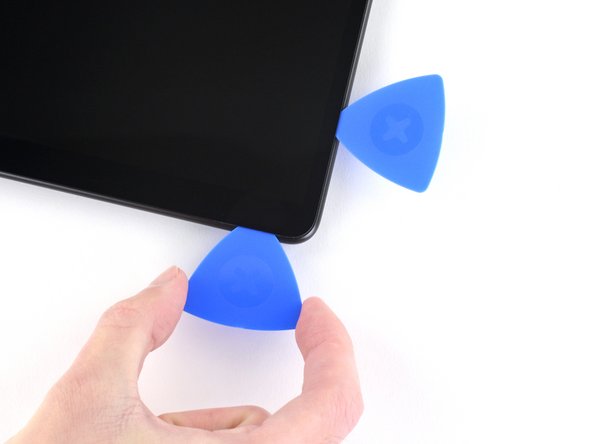
  • Insert a third opening pick into the bottom right corner and slide it around the corner toward the bottom edge.

Steek je plectrum bij het doorsnijden van de lijm niet dieper dan ongeveer 3 mm in de opening van het toestel. Doe je dit wel, dan riskeer je kwetsbare onderdelen in het toestel te beschadigen.

Steek een derde openingsplectrum in de opening bij de rechter benedenhoek en schuif deze om de hoek heen richting de onderkant.

crwdns2944171:0crwdnd2944171:0crwdnd2944171:0crwdnd2944171:0crwdne2944171:0