crwdns2933423:0crwdne2933423:0

Acer Chromebook 11 C732 Teardown

crwdns2936315:0crwdne2936315:0
crwdns2936319:0crwdne2936319:0
crwdns2931653:019crwdne2931653:0
Acer Chromebook 11 C732 Teardown: crwdns2935265:00crwdnd2935265:01crwdnd2935265:03crwdne2935265:0 Acer Chromebook 11 C732 Teardown: crwdns2935265:00crwdnd2935265:02crwdnd2935265:03crwdne2935265:0 Acer Chromebook 11 C732 Teardown: crwdns2935265:00crwdnd2935265:03crwdnd2935265:03crwdne2935265:0
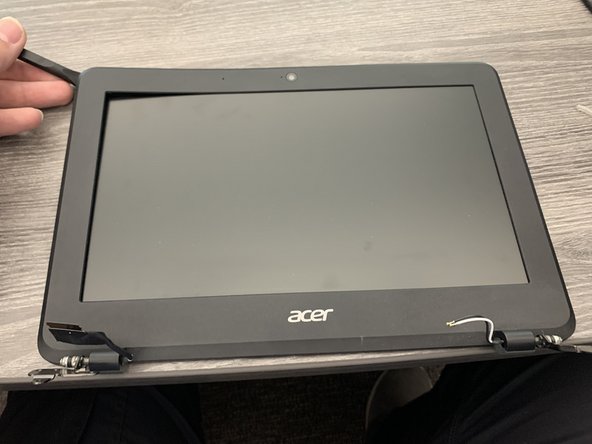
  • Now that the bottom half of the device is done, we can finally look at the screen assembly.

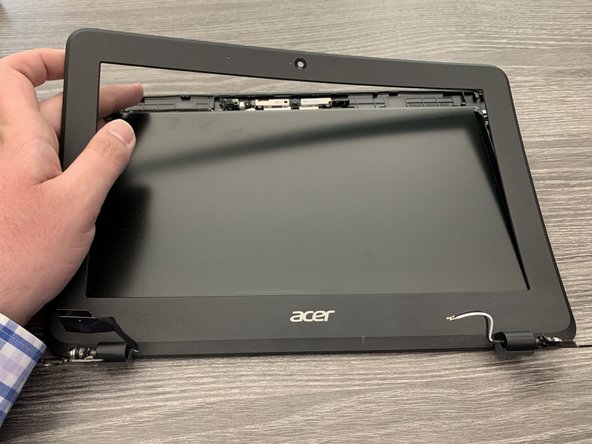
  • Getting into the assembly only requires a spudger. Once you have released the first tab, you can easily use your hands to remove the bezel.

crwdns2935429:0crwdne2935429:0

crwdns2935429:0crwdne2935429:0

crwdns2944171:0crwdnd2944171:0crwdnd2944171:0crwdnd2944171:0crwdne2944171:0