crwdns2931527:0crwdnd2931527:0crwdnd2931527:0crwdnd2931527:0crwdne2931527:0
crwdns2935425:03crwdne2935425:0
crwdns2931653:03crwdne2931653:0

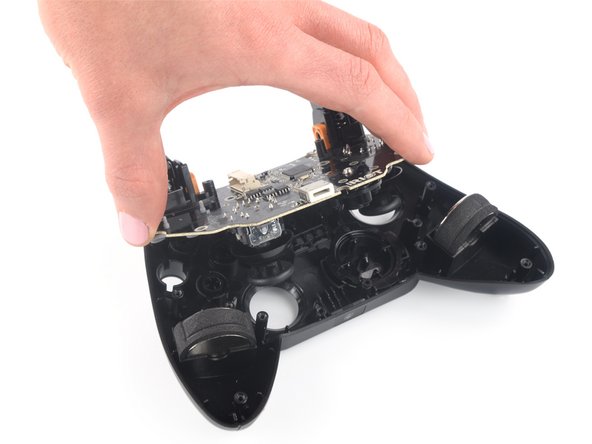
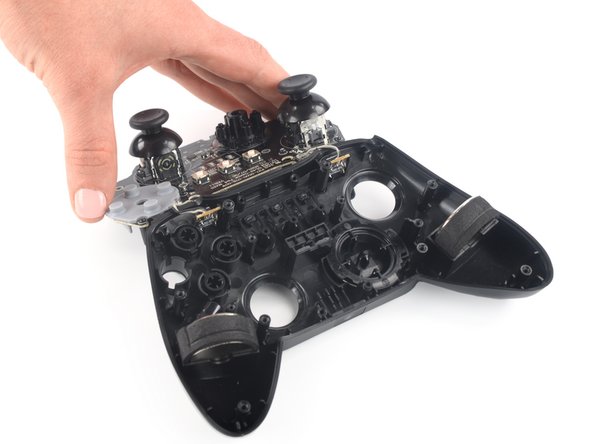


Flip over the mainboard
-
Flip over the mainboard and place it above the controller housing.
crwdns2944171:0crwdnd2944171:0crwdnd2944171:0crwdnd2944171:0crwdne2944171:0