crwdns2933423:0crwdne2933423:0

Démontage de la plaque de protection de l'écran LCD du Motorola Cliq

crwdns2931527:0crwdnd2931527:0crwdnd2931527:0crwdnd2931527:0crwdne2931527:0

crwdns2936315:0crwdne2936315:0
crwdns2936317:0crwdne2936317:0
crwdns2931653:02crwdne2931653:0
Disassembling Motorola Cliq LCD Shield Plate: crwdns2935265:00crwdnd2935265:01crwdnd2935265:03crwdne2935265:0 Disassembling Motorola Cliq LCD Shield Plate: crwdns2935265:00crwdnd2935265:02crwdnd2935265:03crwdne2935265:0 Disassembling Motorola Cliq LCD Shield Plate: crwdns2935265:00crwdnd2935265:03crwdnd2935265:03crwdne2935265:0
  • Orient the phone so that the edge closest to the camera points towards you and slide out the keyboard.

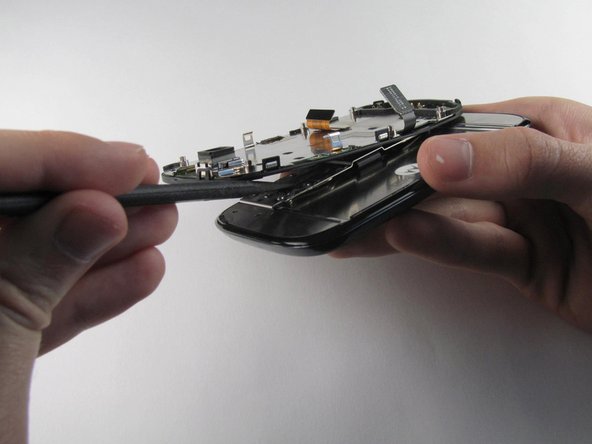
  • Wedge the tip of a spudger between the keyboard and the display assembly below the camera.

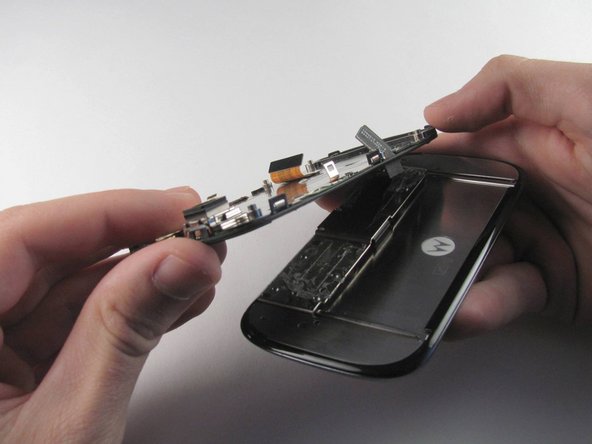
  • With steady pressure, pry the keyboard away from the display assembly.

  • The keyboard and display assembly are glued together, so expect some resistance.

  • Do not completely separate the keyboard and display assembly because the display flex cable still connects them.

Orientez le téléphone de sorte que le bord le plus proche de l'appareil photo pointe vers vous et faites glisser le clavier.

Insérez la pointe d'une spatule entre le clavier et l'ensemble écran sous la caméra.

Avec une pression constante, écartez le clavier de l'ensemble écran.

Le clavier et l'écran sont collés ensemble, alors attendez-vous à une certaine résistance.

Ne séparez pas complètement l'ensemble clavier et écran, car la nappe de l'écran les relie toujours.

crwdns2944171:0crwdnd2944171:0crwdnd2944171:0crwdnd2944171:0crwdne2944171:0