crwdns2933423:0crwdne2933423:0

Lenovo 100e Chromebook 第二世代 ディスプレイの交換

crwdns2931529:0crwdnd2931529:0crwdnd2931529:0crwdnd2931529:02crwdnd2931529:0crwdne2931529:0

crwdns2935425:03crwdne2935425:0

crwdns2936315:0crwdne2936315:0
crwdns2936323:0crwdne2936323:0
crwdns2931653:03crwdne2931653:0
Lenovo 100e Chromebook 2nd Gen Display Replacement: crwdns2935265:00crwdnd2935265:01crwdnd2935265:03crwdne2935265:0 Lenovo 100e Chromebook 2nd Gen Display Replacement: crwdns2935265:00crwdnd2935265:02crwdnd2935265:03crwdne2935265:0 Lenovo 100e Chromebook 2nd Gen Display Replacement: crwdns2935265:00crwdnd2935265:03crwdnd2935265:03crwdne2935265:0
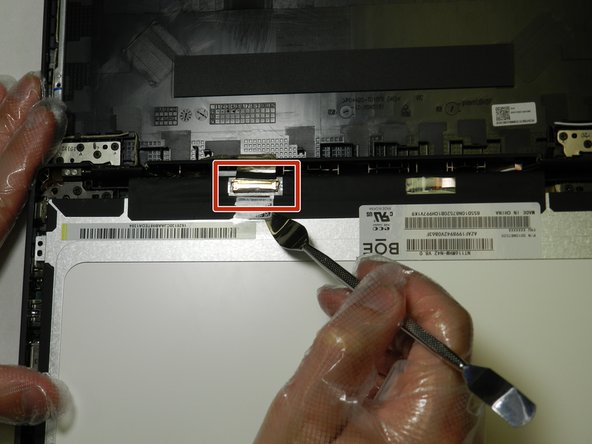
  • Peel back the protective tape over the display cable using the spudger.

  • Gently lift the black bar latch holding the cable in place, until the cable becomes loose.

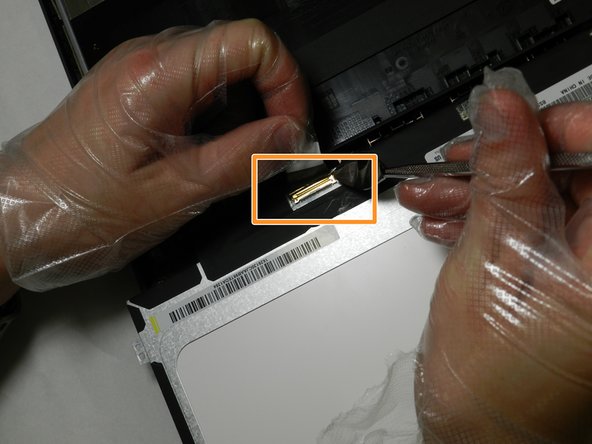
  • Pull the cable free and remove the display.

  • DO NOT pull on the cable before lifting the bar latch or the cable will break.

ディスプレイケーブルに貼ってある保護テープをスパッジャーで剥がします。

ケーブルを固定している黒いバーのラッチを、ケーブルが緩むまでゆっくりと持ち上げてください。

ケーブルを引き抜いて、ディスプレイを取り出します。

バーのラッチを持ち上げる前に、ケーブルを引っ張らないでください。

crwdns2944171:0crwdnd2944171:0crwdnd2944171:0crwdnd2944171:0crwdne2944171:0