crwdns2931527:0crwdnd2931527:0crwdnd2931527:0crwdnd2931527:0crwdne2931527:0
crwdns2935425:07crwdne2935425:0
crwdns2931653:07crwdne2931653:0

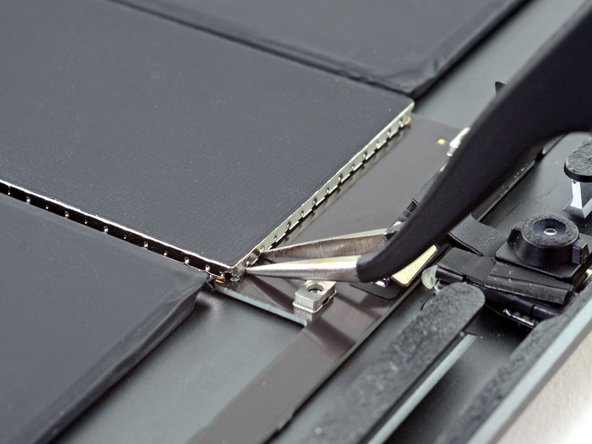


Pry up the logic board shield
-
Insert the tips of a pair of tweezers into the gaps under the the logic board shield on the upper right corner.
-
Pry up slightly to loosen the logic board shield.
crwdns2944171:0crwdnd2944171:0crwdnd2944171:0crwdnd2944171:0crwdne2944171:0