crwdns2931529:0crwdnd2931529:0crwdnd2931529:0crwdnd2931529:07crwdnd2931529:0crwdne2931529:0
crwdns2935425:03crwdne2935425:0
crwdns2931653:03crwdne2931653:0


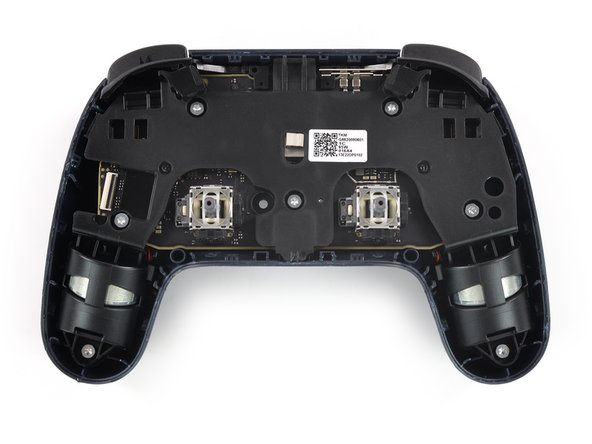


Disconnect the flex cable
-
Use a pair of tweezers to carefully disconnect the flex cable of the button unit by pulling it out of the ZIF connector in a flat angle.
-
Separate the front from the rear assembly.
crwdns2944171:0crwdnd2944171:0crwdnd2944171:0crwdnd2944171:0crwdne2944171:0