crwdns2935425:013crwdne2935425:0
crwdns2931653:013crwdne2931653:0

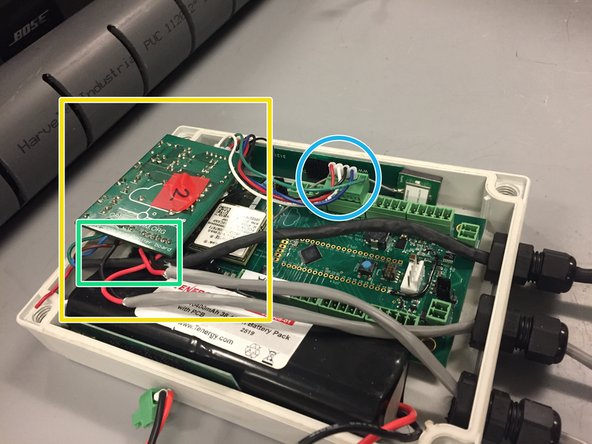


Fit the boards into the node box
-
Slide the open storm board into the node box on the right pushed up as close to the ports as possible.
-
Slide the 3-4V battery into the enclosure on the left side.
-
Carefully fold the connected relay board over so that it fits within the enclosure snuggly.
-
Check to make sure that the connections remained secure.
-
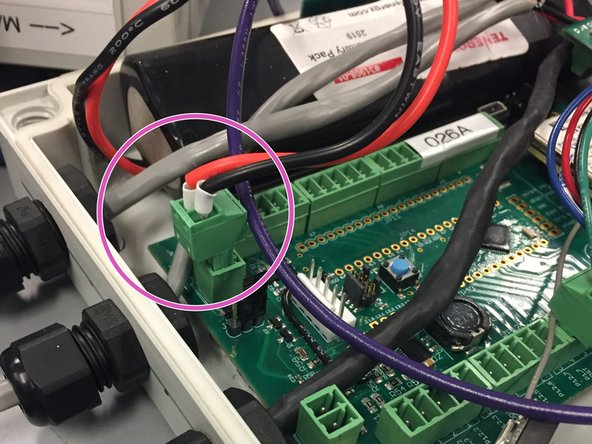
Plug the 6 pin connector into the port on the open storm board that is the second from the left side of the board in the image near the SD card port.
-
Check that the battery port is exposed for deployment, but do not plug in the battery until the sampler is ready to begin sampling.
crwdns2944171:0crwdnd2944171:0crwdnd2944171:0crwdnd2944171:0crwdne2944171:0