crwdns2933423:0crwdne2933423:0

Desmontaje de JMGO GS1

crwdns2936315:0crwdne2936315:0
crwdns2936331:0crwdne2936331:0
crwdns2931653:010crwdne2931653:0
JMGO GS1 Disassembly, Main board: crwdns2935265:00crwdnd2935265:01crwdnd2935265:03crwdne2935265:0 JMGO GS1 Disassembly, Main board: crwdns2935265:00crwdnd2935265:02crwdnd2935265:03crwdne2935265:0 JMGO GS1 Disassembly, Main board: crwdns2935265:00crwdnd2935265:03crwdnd2935265:03crwdne2935265:0
Main board
  • We start disconnecting power cable, and the connection with the DPL board.

  • Then unscrew the three left screws securing the board to the main body.

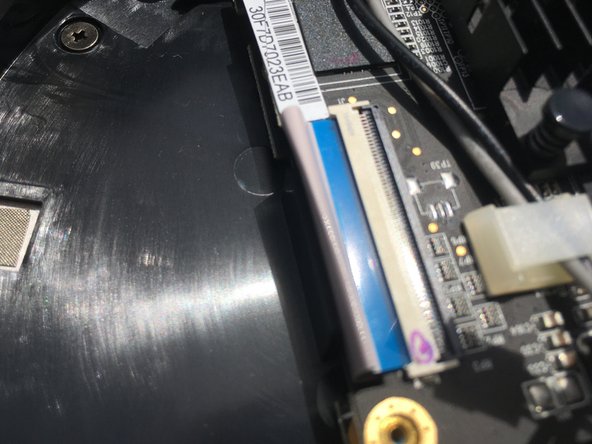
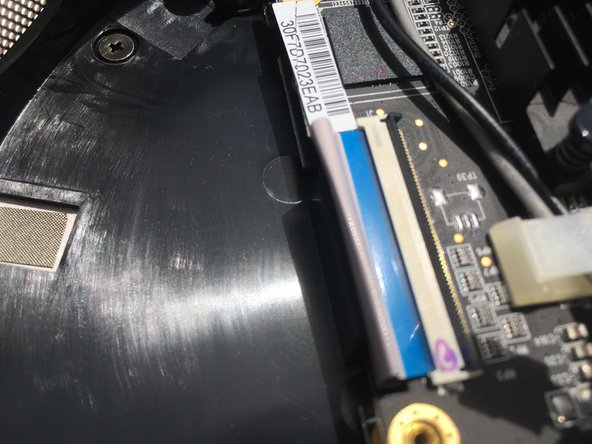
  • Then we open carefully the gate that holds the ribbon cable as shown in the next two pictures. Just pull out and up.

  • Don't push the board just yet, we need to undo another connection in the next step.

Empezamos desconectando el cable que alimenta el proyector, y la conexión con la placa que controla el DLP.

Después desatornillamos los tres tornillos que siguen manteniendo la placa base con el cuerpo del proyector.

Luego quitamos con mucho cuidado el cable plano que se ven en las dos últimas fotos. Sólo hay que tirar un poco hacia afuera, y hacia arriba.

No quites la playa aun, necesitamos quitar otro conector en el siguiente paso.

crwdns2944171:0crwdnd2944171:0crwdnd2944171:0crwdnd2944171:0crwdne2944171:0