crwdns2933423:0crwdne2933423:0

Réparer un iPhone 12 Pro bloqué sur la pomme

crwdns2936315:0crwdne2936315:0
crwdns2936317:0crwdne2936317:0
crwdns2931653:04crwdne2931653:0
Fix iPhone 12 Pro Stuck on Apple Logo: crwdns2935265:00crwdnd2935265:01crwdnd2935265:03crwdne2935265:0 Fix iPhone 12 Pro Stuck on Apple Logo: crwdns2935265:00crwdnd2935265:02crwdnd2935265:03crwdne2935265:0 Fix iPhone 12 Pro Stuck on Apple Logo: crwdns2935265:00crwdnd2935265:03crwdnd2935265:03crwdne2935265:0
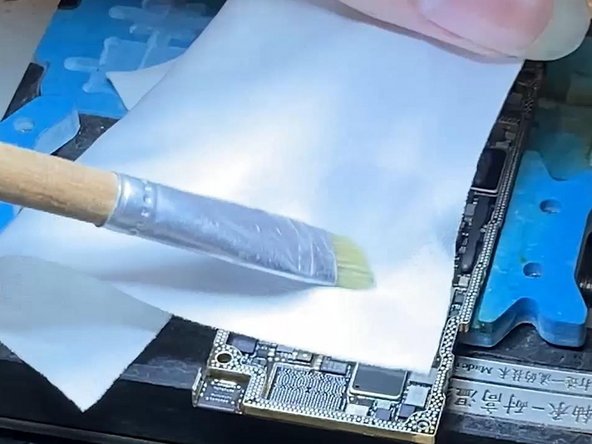
  • Apply some Paste Flux to the bonding pad. Align the new USB IC. Heat to solder the USB IC with Hot Air Gun at 340 °C. Remove tin on the bonding pad with Soldering Iron at 365 °C and solder wick. Clean tin on the bonding pad of the signal board with the same method. Clean the bonding pad with PCB Cleaner.

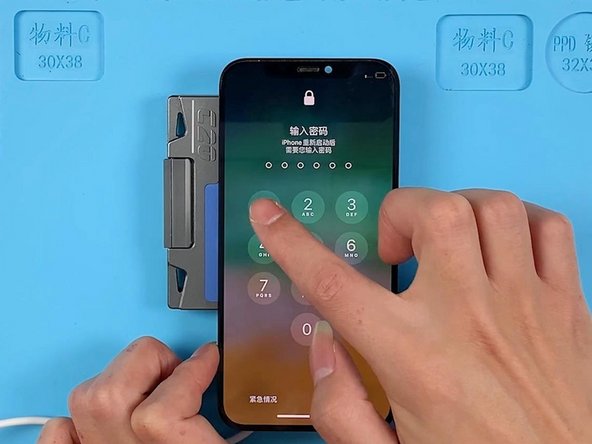
  • Then we install the motherboard to the Testing Fixture. Connect the power cable and screen. Trigger the boot-up with tweezers. The phone can be turned on.

Appliquez un peu de flux de soudure sur la pastille de liaison. Alignez la nouvelle puce IC de charge USB. Chauffez pour souder la puce IC avec un pistolet à air chaud réglé à 340 °C. Retirez l’étain sur la pastille de liaison à l’aide d’un fer à souder réglé à 365 °C et d’une tresse à dessouder.

Nettoyez l’étain sur la pastille de liaison de la carte de signal avec la même méthode. Nettoyez la pastille de liaison avec un nettoyant pour PCB.

Ensuite, nous installons la carte mère sur le dispositif de test. Connectez le câble d'alimentation et l'écran. Déclenchez le démarrage à l'aide d'une pincette. Le téléphone devrait s'allumer.

crwdns2944171:0crwdnd2944171:0crwdnd2944171:0crwdnd2944171:0crwdne2944171:0