crwdns2933423:0crwdne2933423:0

Changer le rail de chargement du Joy-Con gauche

crwdns2936315:0crwdne2936315:0
crwdns2936317:0crwdne2936317:0
crwdns2931653:011crwdne2931653:0
Left Joy-Con Charging Rail Replacement: crwdns2935265:00crwdnd2935265:01crwdnd2935265:02crwdne2935265:0 Left Joy-Con Charging Rail Replacement: crwdns2935265:00crwdnd2935265:02crwdnd2935265:02crwdne2935265:0
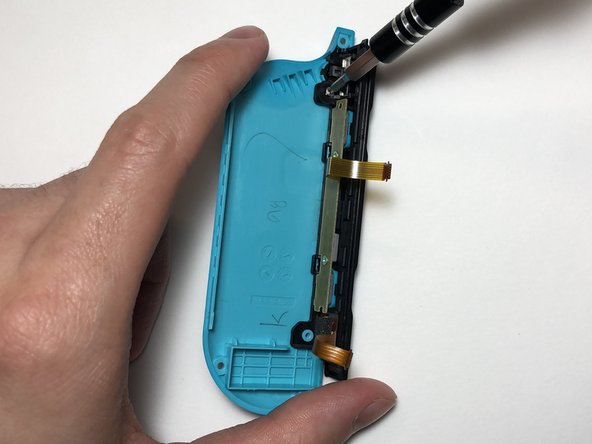
  • Align the charging rail with the two standoffs on the back shell.

  • Secure the rail onto the back shell using the 2 mm Phillips #000 screws.

Alignez le rail de chargement avec les deux entretoises sur la coque arrière.

Fixez le rail sur la coque arrière à l'aide des vis cruciformes #000 de 2 mm.

crwdns2944171:0crwdnd2944171:0crwdnd2944171:0crwdnd2944171:0crwdne2944171:0