crwdns2935425:019crwdne2935425:0
crwdns2931653:019crwdne2931653:0


-
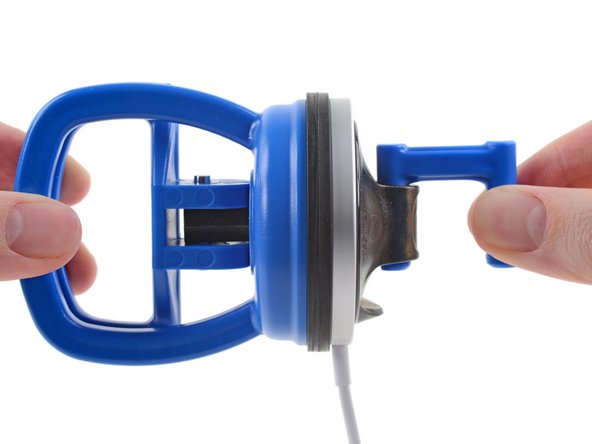
The only seam to be found is where the rubber meets the metal, making that the obvious entry point.
-
Optimistically, we blast it with some heat in order to soften the adhesive which, presumably, holds this thing together. Then we attach two perfectly-fitting suction cups, one to either side, and start tug-of-warring.
-
The white cover material on the charging surface starts to stretch slightly, but the actual gap doesn’t budge. (Sometimes we're too optimistic.)
-
So, under the knife it goes! Some persuasion from our razor knife gets us past the white cover, between the plastic and metal underneath, where we can start prying.
crwdns2944171:0crwdnd2944171:0crwdnd2944171:0crwdnd2944171:0crwdne2944171:0