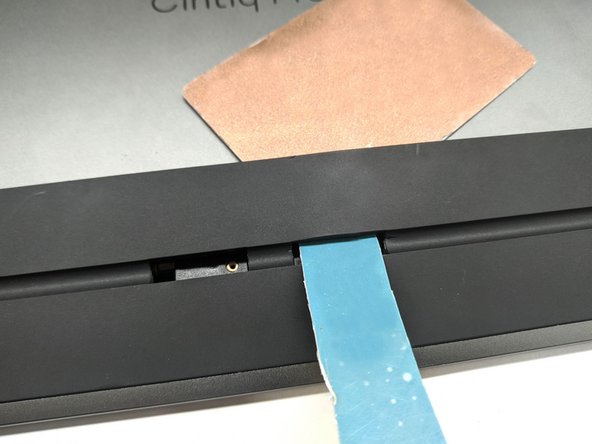
crwdns2933423:0crwdne2933423:0

Wacom Cintiq Pro 13 Disassembly

crwdns2936315:0crwdne2936315:0
crwdns2936325:0crwdne2936325:0
crwdns2931653:04crwdne2931653:0
Wacom Cintiq Pro 13 Disassembly: crwdns2935265:00crwdnd2935265:01crwdnd2935265:03crwdne2935265:0 Wacom Cintiq Pro 13 Disassembly: crwdns2935265:00crwdnd2935265:02crwdnd2935265:03crwdne2935265:0 Wacom Cintiq Pro 13 Disassembly: crwdns2935265:00crwdnd2935265:03crwdnd2935265:03crwdne2935265:0
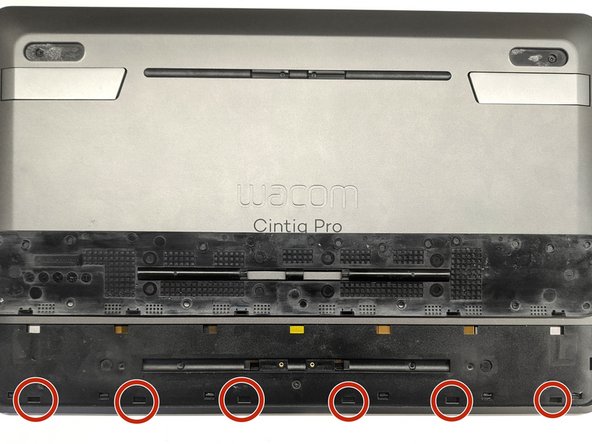
  • Heat up the bottom rubber plate near holes using heat gun or hairdryer and try to insert prying tool as adhesive softens.

  • A drip or two of isopropyl alcohol on the plastic tools can soften the adhesive even further

  • If you're using Heat Gun do not overheat the rubber plate as it may melt. You should be still able to touch the rubber plate with bare hands after heating it up.

  • Watch out for ribbon cables hiding in holes, as covers with T5 Torx screws are now removed.

  • As the adhesive softens, try to insert flat plastic tool on the top

  • Heat up the rest of the rubber plate and slide plastic tool along upper side of the rubber plate

  • The bottom side of the plate has plastic clips (third image). Trying to push plastic tool too hard in lower part may result in damaging plastic clips

  • Remove the rubber plate

crwdns2935429:0crwdne2935429:0

crwdns2935429:0crwdne2935429:0

crwdns2935429:0crwdne2935429:0

crwdns2935429:0crwdne2935429:0

crwdns2935429:0crwdne2935429:0

crwdns2935429:0crwdne2935429:0

crwdns2935429:0crwdne2935429:0

crwdns2935429:0crwdne2935429:0

crwdns2944171:0crwdnd2944171:0crwdnd2944171:0crwdnd2944171:0crwdne2944171:0