crwdns2935425:06crwdne2935425:0
crwdns2931653:06crwdne2931653:0

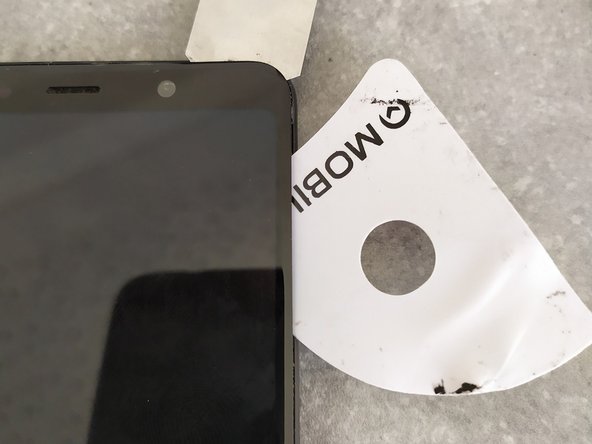


Display removal
-
Use a heat gun to heat up the front of the display.
-
Insert a thin tooll between the glass and the frame to create a small gap.
-
Insert a plastic tool and work around the edge of the glass to separate the display from the frame.
-
The LCD is also glued, so it is difficult to remove the glass without breaking the LCD. For this guide, replacement of the glass and LCD was conducted.
-
Once the screen has been removed, remove any excess adhesive from the frame.
-
Insert the display cable through the hole. Connect it to the mainboard and test it before glueing it to the frame.
-
To reassemble, complete the same steps in reverse.
crwdns2944171:0crwdnd2944171:0crwdnd2944171:0crwdnd2944171:0crwdne2944171:0