crwdns2935425:011crwdne2935425:0
crwdns2931653:011crwdne2931653:0

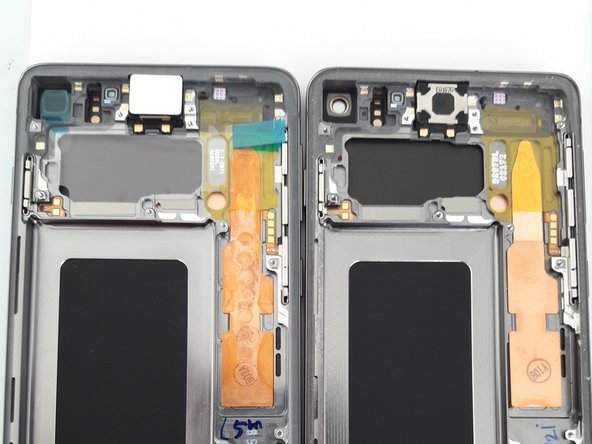


Removing the vibration motor
-
It is possible that the vibration motor & speaker will need to be transferred to the new display. The display that I replaced had the vibration motor and speaker already installed.
-
Once the mainboard has been removed, use a heat gun to heat up the bottom of the vibration motor (from the screen side). Insert a thin, flat edged tool to pry the vibration motor free.
-
Now complete these steps in reverse to re-assemble the device.
-
As mentioned in step 6: To test the device the antenna/loudspeaker cover needs to be attached otherwise an error symbol will appear on the screen.
crwdns2944171:0crwdnd2944171:0crwdnd2944171:0crwdnd2944171:0crwdne2944171:0