crwdns2935425:010crwdne2935425:0
crwdns2931653:010crwdne2931653:0


Removing the mainboard
-
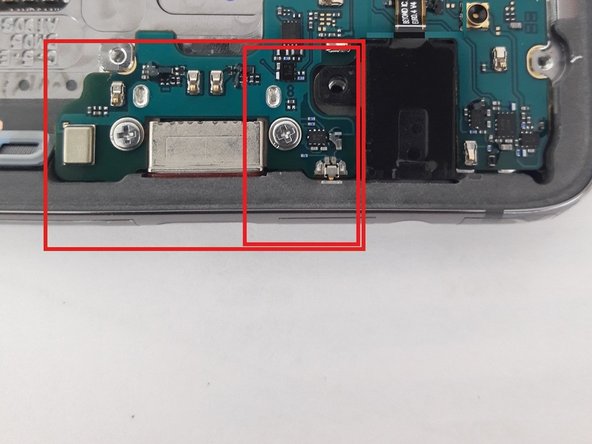
Use a pick or thin plastic spudger to release the mainboard from the top of the frame. CAUTION: there are two metal connectors that can be easily broken or bent, care is needed to make sure they remain intact.
-
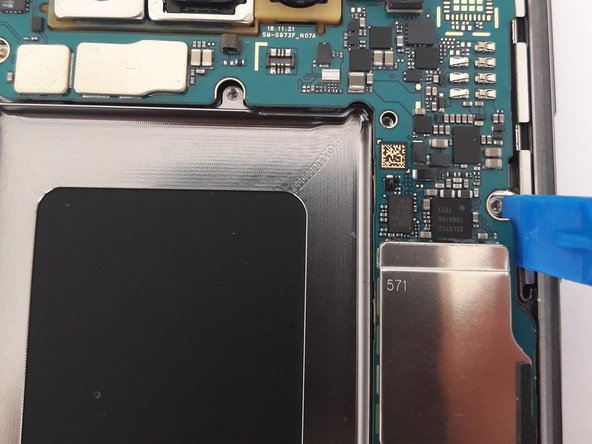
Use a spudger to pry the right side of the mainboard up.
-
CAUTION: There is also a small metal connector on the bottom that can break easily if bent (Highlighted in the smaller red box). Care is needed when refitting the mainboard.
-
Once the top of the mainboard has been released, you can gently slide the mainboard up to remove the charger port out of the frame. ( Sorry, no picture of this).
crwdns2944171:0crwdnd2944171:0crwdnd2944171:0crwdnd2944171:0crwdne2944171:0