crwdns2933423:0crwdne2933423:0

Reemplazo de la junta para depósito de calentamiento de Gaggia Cubika

crwdns2936315:0crwdne2936315:0
crwdns2936331:0crwdne2936331:0
crwdns2931653:05crwdne2931653:0
Gaggia Cubika Seal for the heating tank Replacement: crwdns2935265:00crwdnd2935265:01crwdnd2935265:03crwdne2935265:0 Gaggia Cubika Seal for the heating tank Replacement: crwdns2935265:00crwdnd2935265:02crwdnd2935265:03crwdne2935265:0 Gaggia Cubika Seal for the heating tank Replacement: crwdns2935265:00crwdnd2935265:03crwdnd2935265:03crwdne2935265:0
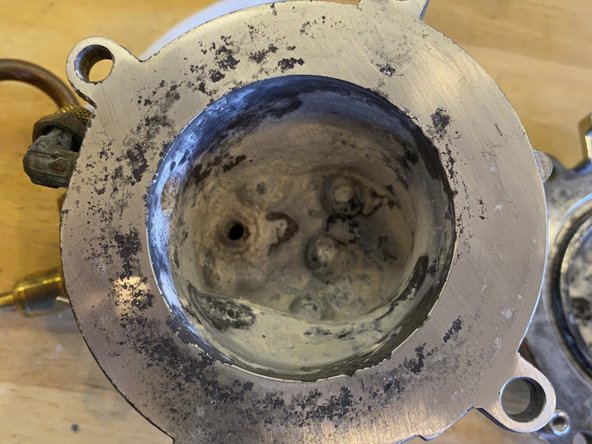
  • The insides were really covered with calcium carbonate (chalk)

  • I scrubbed out the inside of the unit, then I used an iron descaler product from a DIY store to remove the worst of the chalk

  • Don't submerge the top of the heater as it has electrical components on it

  • (OPTIONAL) With the scale removed, the pitting to the die-cast heater body was clear. I polished this by using a very fine wet-or-dry paper placed on a flat surface . Dampen the wet-or-dry, and using small movements smooth the top half of the heater. See photo 2.

  • Clean the inside of the bottom half of the heater. You can't use the same technique to celan the face of the bottom as it has a central spiggot.

  • Clean the hole which is at the bottom of the spiggot (from outside the heater). This allows hot water to come out of the heater, into the coffee. It should be 2.5mm in diameter (mine was not, hence the poor water flow), so I used a drill to clean this. The bullet shaped piece with the spring fits into this so make sure it is clean.

  • Reassemble this and the brass nut into the bottom of the unit, and reattach the water sieve.

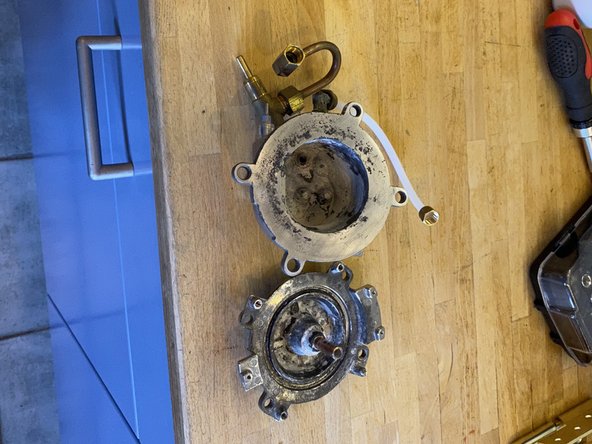
  • See photo 3 for the completed clean faces.

El interior estaba cubierto de carbonato de calcio (cal)

Fregué el interior de la unidad y luego usé un producto desincrustante de hierro de una tienda de bricolaje para eliminar la mayor parte de la cal

No sumerjas la parte superior del calentador, ya que tiene componentes eléctricos

(OPCIONAL) Una vez eliminada la cal, las picaduras en el cuerpo del calentador de fundición a presión quedaron claras. Pulí esto usando un papel húmedo o seco muy fino colocado sobre una superficie plana. Humedece el papel húmedo o seco y, con pequeños movimientos, alisa la mitad superior del calentador. Mira la foto 2.

Limpia el interior de la mitad inferior del calentador. No puedes usar la misma técnica para limpiar la cara de la parte inferior, ya que tiene una espita central.

Limpia el orificio que está en la parte inferior de la espita (desde afuera del calentador). Esto permite que salga agua caliente del calentador hacia el café. Debe tener 2,5 mm de diámetro (el mío no lo tenía, de ahí el flujo de agua deficiente), así que usé un taladro para limpiarlo.

La pieza con forma de bala con el resorte encaja en ella, así que asegúrate de que esté limpia.

Vuelve a ensamblar esta pieza y la tuerca de bronce en la parte inferior de la unidad y vuelve a colocar el tamiz de agua. Mira la foto 3 para ver las caras limpias terminadas.

crwdns2944171:0crwdnd2944171:0crwdnd2944171:0crwdnd2944171:0crwdne2944171:0