crwdns2935425:03crwdne2935425:0
crwdns2931653:03crwdne2931653:0

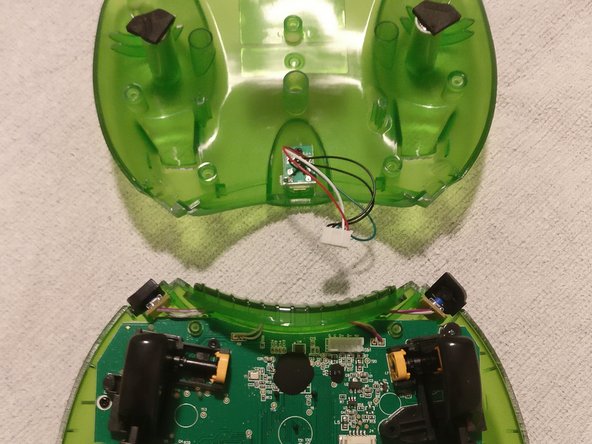


Removing the USB connector
-
The angled tweezers are a great tool for removing cables from these connectors
-
Gently wiggle the cable from side to side whilst pulling away from the PCB to separate the two items
-
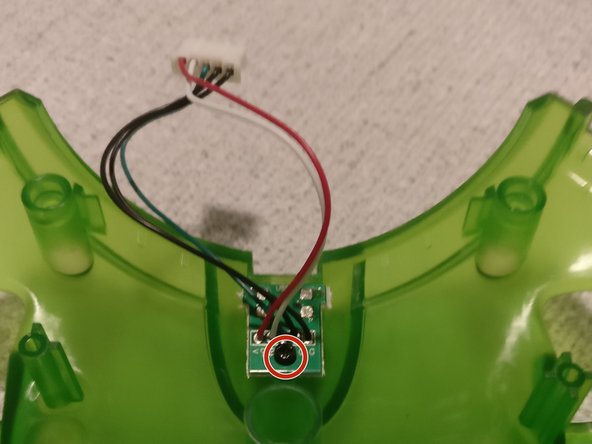
A single screw retains the USB connector PCB to the rear shell of the controller
crwdns2944171:0crwdnd2944171:0crwdnd2944171:0crwdnd2944171:0crwdne2944171:0