crwdns2935425:07crwdne2935425:0
crwdns2931653:07crwdne2931653:0


Bottom Section 1a.
-
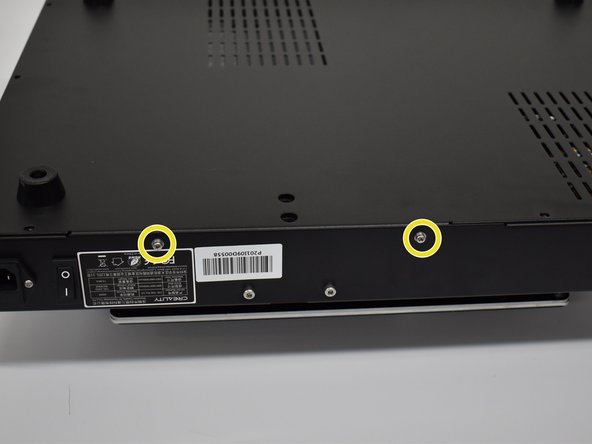
Using a #1 Phillips screwdriver, remove the 11 screws on the bottom and 2 screws on each side for a total of 15. Next, remove the bottom cover.
-
Unplug the original ribbon cable (not shown)
-
Plug in new connections. For clarity, we only have the new connections shown here.
-
Ribbon Cable (keyed)
-
3 pin black plug into D11 (end row towards SD card slot) Orange wire will face the ribbon cable like in the picture.
-
2 pin white plug into Z+ (connection closest to the ribbon cable) From the same view as the picture, use the right 2 pins.
crwdns2944171:0crwdnd2944171:0crwdnd2944171:0crwdnd2944171:0crwdne2944171:0