crwdns2933423:0crwdne2933423:0

CR-10S Pro BL Touch Install

crwdns2936315:0crwdne2936315:0
crwdns2936323:0crwdne2936323:0
crwdns2931653:05crwdne2931653:0
CR-10S Pro BL Touch Install, Top Section 2b.: crwdns2935265:00crwdnd2935265:01crwdnd2935265:03crwdne2935265:0 CR-10S Pro BL Touch Install, Top Section 2b.: crwdns2935265:00crwdnd2935265:02crwdnd2935265:03crwdne2935265:0 CR-10S Pro BL Touch Install, Top Section 2b.: crwdns2935265:00crwdnd2935265:03crwdnd2935265:03crwdne2935265:0
Top Section 2b.
  • Tighten button head screws with M2 hex. Start with the top 2 then position the bottom tab, aligning the holes to install the 3rd screw.

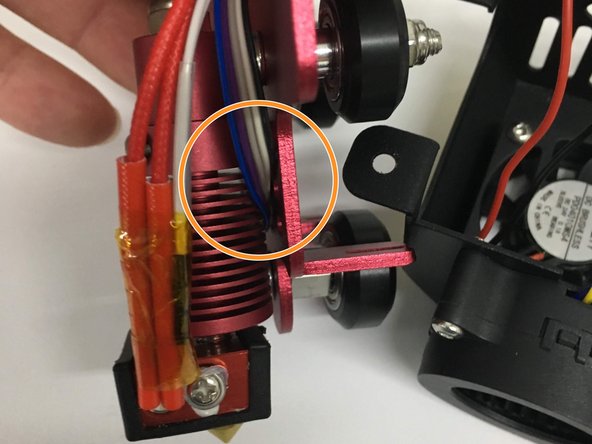
  • Add new zip ties to hold the cable loom in place.

  • On the hot end/probe side, route the wires behind the hot end and plug into the probe.

  • Be sure that the probe wires are not pinched between the X carriage and probe mounting bracket.

  • Install and tighten the button head screws.

crwdns2935429:0crwdne2935429:0

crwdns2935429:0crwdne2935429:0

crwdns2935429:0crwdne2935429:0

crwdns2935429:0crwdne2935429:0

crwdns2935429:0crwdne2935429:0

crwdns2944171:0crwdnd2944171:0crwdnd2944171:0crwdnd2944171:0crwdne2944171:0