crwdns2933423:0crwdne2933423:0

Installazione BL Touch CR-10S Pro

crwdns2936315:0crwdne2936315:0
crwdns2936321:0crwdne2936321:0
crwdns2931653:04crwdne2931653:0
CR-10S Pro BL Touch Install, Top Section 1d./ 2a.: crwdns2935265:00crwdnd2935265:01crwdnd2935265:03crwdne2935265:0 CR-10S Pro BL Touch Install, Top Section 1d./ 2a.: crwdns2935265:00crwdnd2935265:02crwdnd2935265:03crwdne2935265:0 CR-10S Pro BL Touch Install, Top Section 1d./ 2a.: crwdns2935265:00crwdnd2935265:03crwdnd2935265:03crwdne2935265:0
Top Section 1d./ 2a.
  • Pull the expandable loom back towards the daughterboard. This will shorten and expand it, making it easy for the next couple steps

  • Pull the original probe out from the opposite side to remove it from the loom.

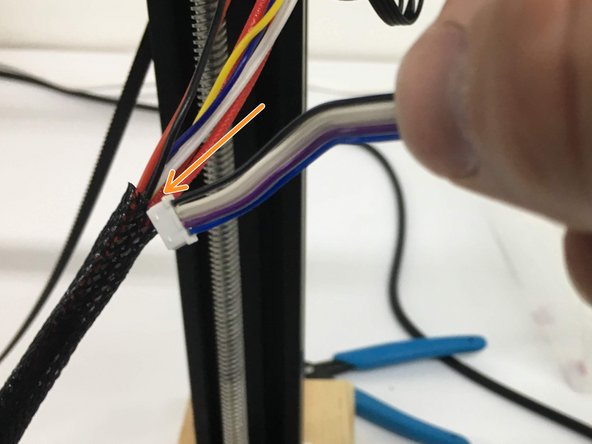
  • From the daughterboard side, insert the new probe harness with the small plug (probe side) going in first. With the loom still expanded, you should be able to get it completely through.

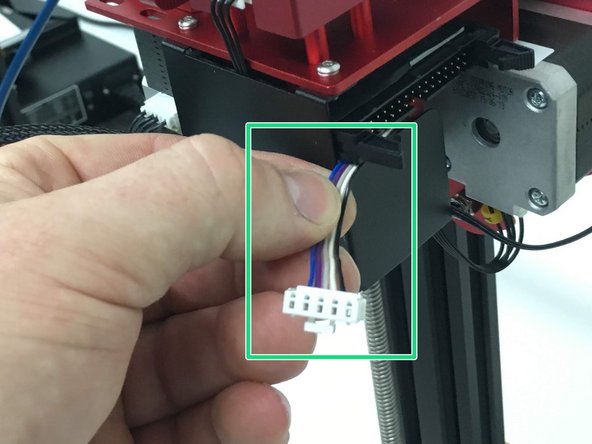
  • Leave about 1-1.5 inches of the tail end of the probe harness exposed next to the ribbon cable connection and reattach the daughterboard cover.

Tira la maglia allargabile all'indietro, verso la scheda figlia. Questo la accorcerà e la allargherà, semplificando i prossimi passaggi.

Tira la sonda originale dalla parte opposta per sfilarla e rimuoverla dalla maglia.

Dal lato della scheda figlia, infila i cavi della nuova sonda dall'estremità della presa piccola. Con la maglia ancora allargata dovresti poterla farla passare del tutto.

Lascia all'incirca 3-5 centimetri dell'estremità dei cavi esposti vicino al connettore del cavo a nastro e riattacca la copertura della scheda figlia.

crwdns2944171:0crwdnd2944171:0crwdnd2944171:0crwdnd2944171:0crwdne2944171:0