crwdns2935425:04crwdne2935425:0
crwdns2931653:04crwdne2931653:0

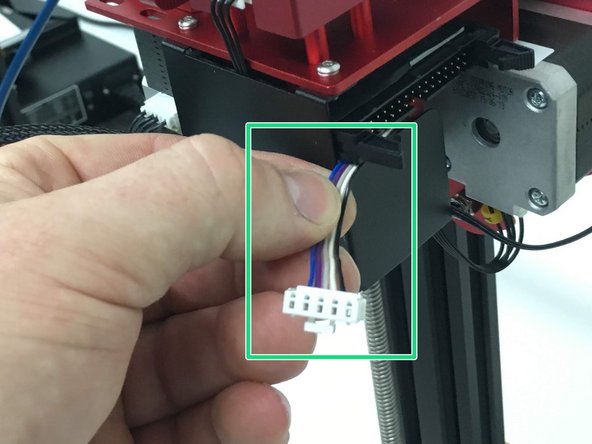


Top Section 1d./ 2a.
-
Pull the original probe out from the opposite side to remove it from the loom.
-
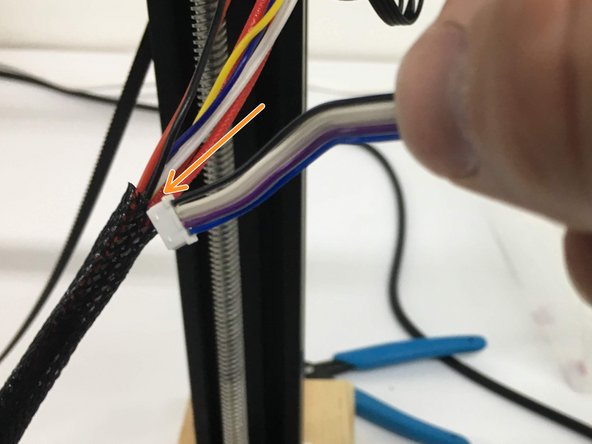
From the daughterboard side, insert the new probe harness with the small plug (probe side) going in first. With the loom still expanded, you should be able to get it completely through.
-
Leave about 1-1.5 inches of the tail end of the probe harness exposed next to the ribbon cable connection and reattach the daughterboard cover.
crwdns2944171:0crwdnd2944171:0crwdnd2944171:0crwdnd2944171:0crwdne2944171:0