crwdns2933423:0crwdne2933423:0

Hover 1 Eclipse Shell Replacement

crwdns2935425:06crwdne2935425:0

crwdns2936315:0crwdne2936315:0
crwdns2936317:0crwdne2936317:0
crwdns2931653:06crwdne2931653:0
Hover 1 Eclipse Shell Replacement: crwdns2935265:00crwdnd2935265:01crwdnd2935265:02crwdne2935265:0 Hover 1 Eclipse Shell Replacement: crwdns2935265:00crwdnd2935265:02crwdnd2935265:02crwdne2935265:0
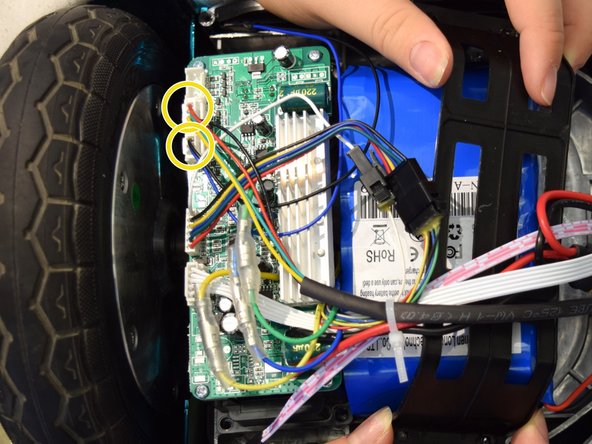
  • Follow the rainbow cord that connects the left side shell piece to the inside board. Find where it is plugged into and disconnect it.

  • The cord is a bundle of multicolored wires sheathed in black, halfway down.

  • Follow the black and blue cord that connects the left side shell piece to the inside board. Find where it is plugged into and disconnect it.

  • Repeat for the top right shell piece.

  • Remove both shell pieces.

crwdns2935429:0crwdne2935429:0

crwdns2935429:0crwdne2935429:0

crwdns2935429:0crwdne2935429:0

crwdns2935429:0crwdne2935429:0

crwdns2935429:0crwdne2935429:0

crwdns2944171:0crwdnd2944171:0crwdnd2944171:0crwdnd2944171:0crwdne2944171:0